
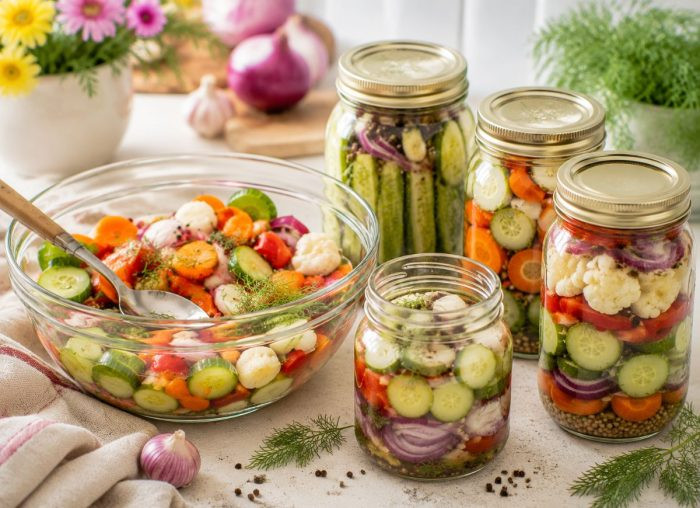
Homemade refrigerator pickles are one of the easiest ways to add bold flavor and satisfying crunch to everyday meals. They require no complicated canning process, making them perfect for beginners who want fresh pickled vegetables without spending hours in the kitchen.
A simple mixture of vinegar, salt, sugar, herbs, and spices can transform ordinary vegetables into something bright, tangy, and refreshing. These recipes include classic cucumber pickles, colorful vegetables, spicy combinations, and creative flavors that are easy to prepare and store.
So, keep a jar in the fridge, and you will always have a flavorful topping, snack, or side dish ready to enjoy.
1. Classic Garlic Dill Pickles
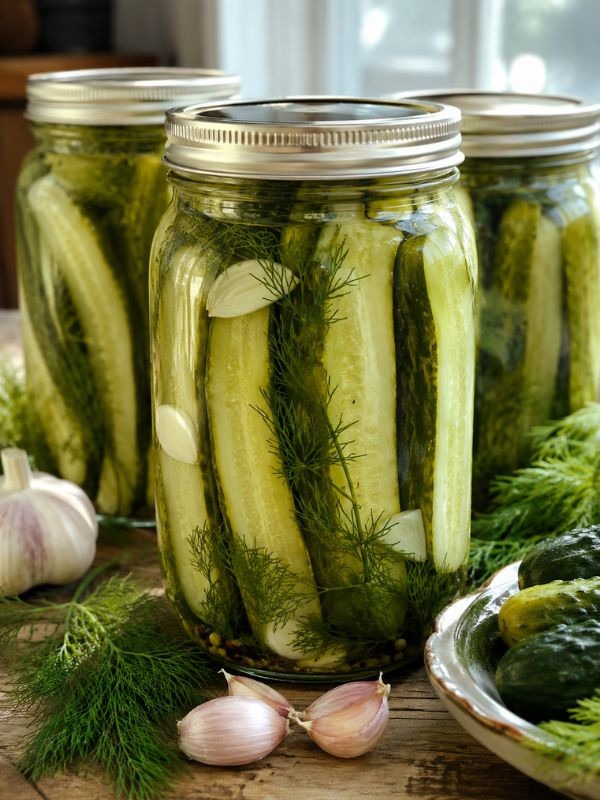
Classic Garlic Dill Pickles are the recipe I always recommend when someone wants to start making homemade pickles. They deliver the familiar crunchy texture, bright vinegar tang, fresh dill aroma, and deep garlic flavor that many store-bought versions try to recreate.
These refrigerator pickles do not require complicated canning equipment. Fresh cucumbers are simply packed into jars with herbs, garlic, and a simple brine, then chilled until the flavors develop. After a day or two, they become crisp, refreshing, and perfect alongside sandwiches, burgers, grilled meats, or as a snack straight from the jar.
Pro Tip: Use small pickling cucumbers whenever possible because they naturally stay firmer and crunchier after soaking in the brine.
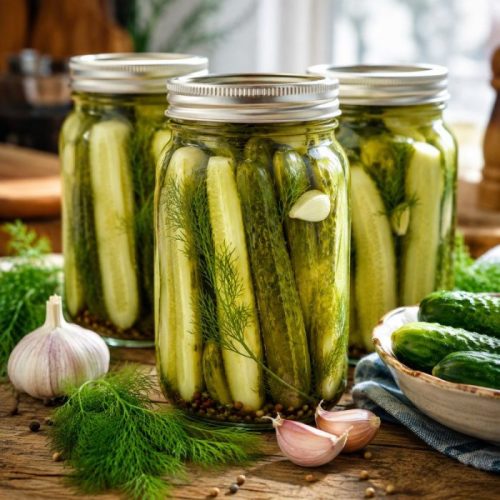
Classic Garlic Dill Pickles

Ingredients
- 2 pounds small cucumbers
- 4 garlic cloves, sliced
- 4 fresh dill sprigs
- 1 cup white vinegar
- 1 cup water
- 1 tbsp kosher salt
- 1 tsp sugar
- 1 tsp black peppercorns
- 1 tsp mustard seeds
Instructions
- Wash the cucumbers thoroughly under cold water, trim both ends, and slice them into spears or rounds depending on your preferred pickle style.
- Clean two glass jars with hot soapy water, rinse well, and place garlic slices, dill sprigs, peppercorns, and mustard seeds evenly between the jars.
- Pack the cucumber pieces tightly into the jars, leaving enough space at the top so the brine can fully cover the vegetables.
- Combine vinegar, water, salt, and sugar in a small saucepan, then warm the mixture gently until the salt and sugar dissolve completely.
- Pour the warm brine over the cucumbers, making sure every piece is submerged beneath the liquid.
- Allow the jars to cool at room temperature for a short time, then cover tightly and place them in the refrigerator.
- Let the pickles rest for at least 24 hours before eating, although the flavor becomes stronger and more balanced after 48 hours.
2. Spicy Jalapeño Cucumber Pickles
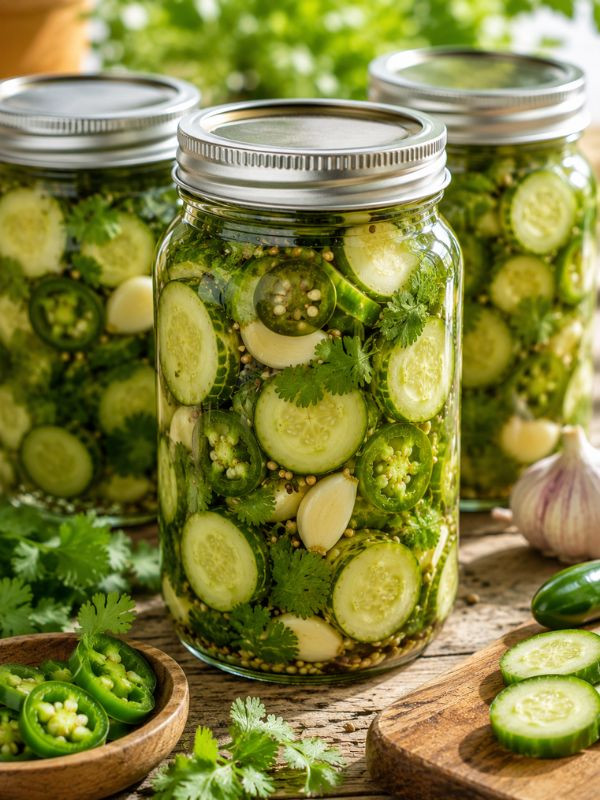
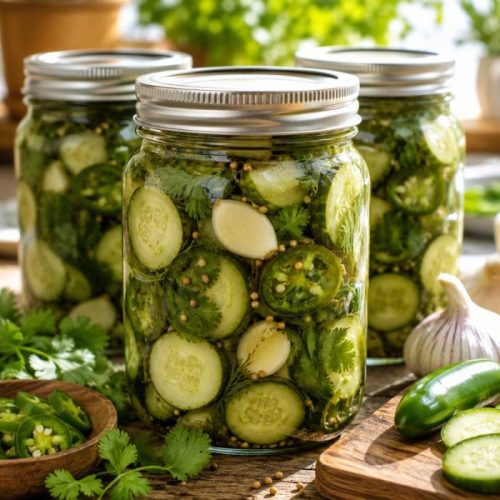
Spicy Jalapeño Cucumber Pickles are perfect for anyone who enjoys a little heat with their crunch. Fresh cucumbers soak alongside sliced jalapeños, garlic, and a lightly sweetened vinegar brine, creating a pickle that feels refreshing first and spicy afterward.
I love keeping a jar of these in the refrigerator because they instantly upgrade simple meals. Add them to tacos, sandwiches, grilled cheese, burgers, or chopped salads for extra brightness and texture. The heat level can be adjusted easily by changing the amount of jalapeño or keeping some seeds for a stronger kick.
Pro Tip: Slice jalapeños thinly for even flavor distribution, but remove the seeds if you prefer a milder pickle.
Spicy Jalapeño Cucumber Pickles
Ingredients
- 2 pounds cucumbers
- 2 fresh jalapeños, sliced
- 3 garlic cloves
- 1 cup white vinegar
- 1 cup water
- 1 tbsp salt
- 1 tbsp sugar
- 1 tsp coriander seeds
- 2 tbsp fresh cilantro
Instructions
- Rinse the cucumbers and jalapeños thoroughly, then slice the cucumbers into rounds or spears and cut the jalapeños into thin rings.
- Divide garlic cloves, cilantro, and coriander seeds between clean glass jars to create the flavor base.
- Fill each jar with cucumber slices and jalapeño pieces, arranging them tightly while leaving enough room for the liquid.
- Heat vinegar, water, salt, and sugar together in a saucepan until the salt dissolves and the brine becomes clear.
- Carefully pour the warm pickling liquid into the jars until all vegetables are completely covered.
- Let the jars cool slightly before sealing them and transferring them to the refrigerator.
- Wait at least 24 hours before serving so the cucumbers absorb the spicy, tangy flavors.
3. Sweet Bread Butter Pickles
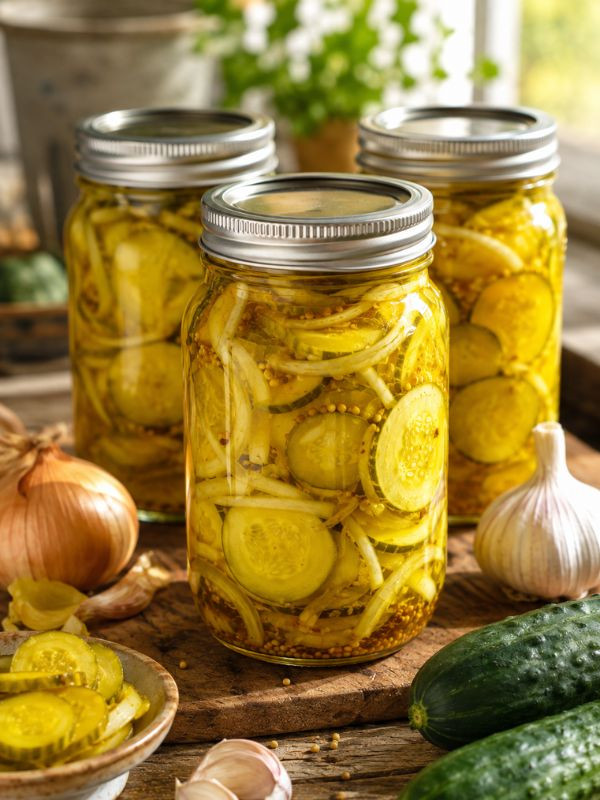
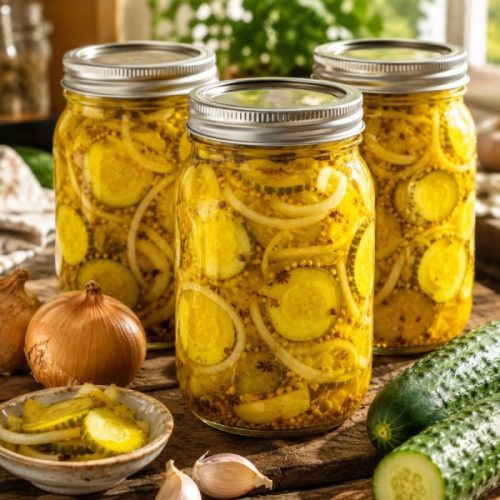
Sweet Bread Butter Pickles are a nostalgic favorite with their signature balance of sweetness, acidity, and gentle spice. Thin cucumber slices are combined with onions and a flavorful brine made with vinegar, sugar, mustard seeds, and turmeric.
These pickles are especially good for adding contrast to rich foods. Their sweet-tangy flavor pairs beautifully with burgers, sandwiches, grilled meats, and cheese boards. I enjoy making a batch when cucumbers are abundant because they require minimal preparation and stay fresh in the refrigerator for weeks.
Sweet Bread Butter Pickles
Ingredients
- 3 pounds cucumbers
- 1 large onion, thinly sliced
- 1 1/2 cups white vinegar
- 1 cup sugar
- 1 tbsp salt
- 1 tsp mustard seeds
- 1 tsp celery seeds
- 1/2 tsp turmeric
- 1/2 tsp crushed red pepper flakes
Instructions
- Wash the cucumbers and slice them into thin rounds, then place them in a large bowl with sliced onions.
- Sprinkle salt over the vegetables and allow them to rest for about one hour to help remove excess moisture.
- Rinse the cucumbers and onions gently under cold water, then drain them well before placing them into clean jars.
- Combine vinegar, sugar, mustard seeds, celery seeds, turmeric, and red pepper flakes in a saucepan.
- Heat the mixture slowly while stirring until the sugar completely dissolves and the spices become fragrant.
- Pour the warm brine over the cucumber slices and onions, ensuring everything is covered.
- Cool the jars before refrigerating, then allow the pickles to rest overnight before enjoying their full sweet and tangy flavor.
4. Crunchy Carrot Refrigerator Pickles
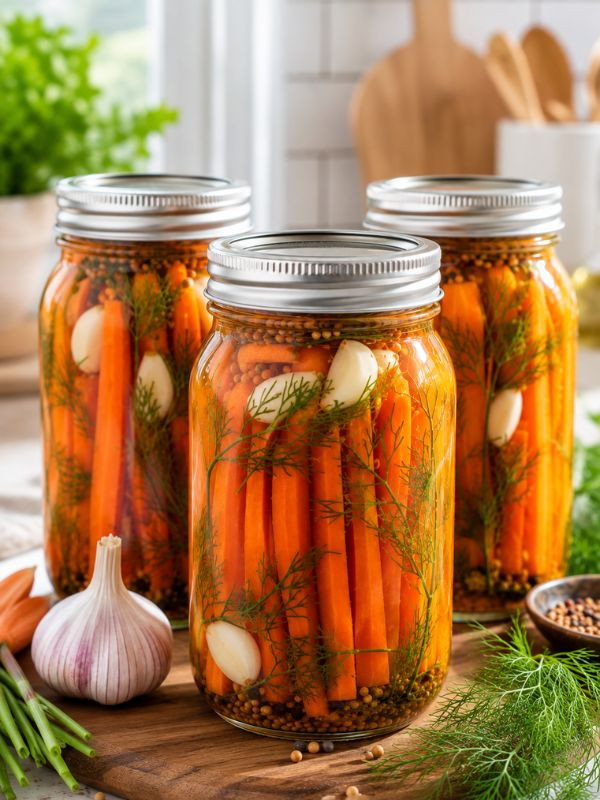
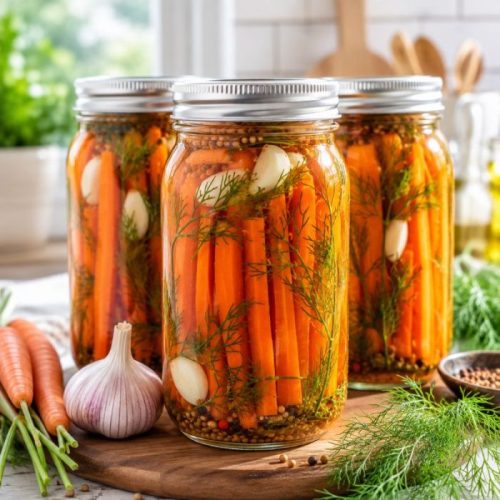
Crunchy Carrot Refrigerator Pickles are a colorful way to enjoy vegetables with a bright, refreshing twist. Carrots maintain their natural crispness while absorbing the flavors of vinegar, garlic, herbs, and spices.
These pickles are excellent for adding texture to everyday meals. I like serving them with rice bowls, sandwiches, salads, and grilled dishes because their sweet crunch balances heavier flavors. They are also a great option for meal preparation since the flavor continues improving after a few days in the refrigerator.
Crunchy Carrot Refrigerator Pickles
Ingredients
- 2 pounds carrots
- 3 garlic cloves
- 2 cups water
- 1 cup rice vinegar
- 1 tbsp salt
- 1 tbsp sugar
- 1 tsp coriander seeds
- 2 tbsp fresh dill
Instructions
- Peel the carrots and cut them into evenly sized sticks or thin slices depending on your preferred texture.
- Place garlic cloves, coriander seeds, and dill into clean glass jars before adding the prepared carrots.
- Pack the carrots firmly into the jars while leaving enough space for the pickling liquid to flow around them.
- Combine water, rice vinegar, salt, and sugar in a saucepan and warm gently until the salt and sugar dissolve.
- Pour the brine over the carrots until they are completely submerged beneath the liquid.
- Allow the jars to cool naturally before sealing and moving them into the refrigerator.
- Let the carrots pickle for at least one day before eating, then enjoy them chilled as a crunchy snack or side dish.
5. Tangy Pickled Red Onions
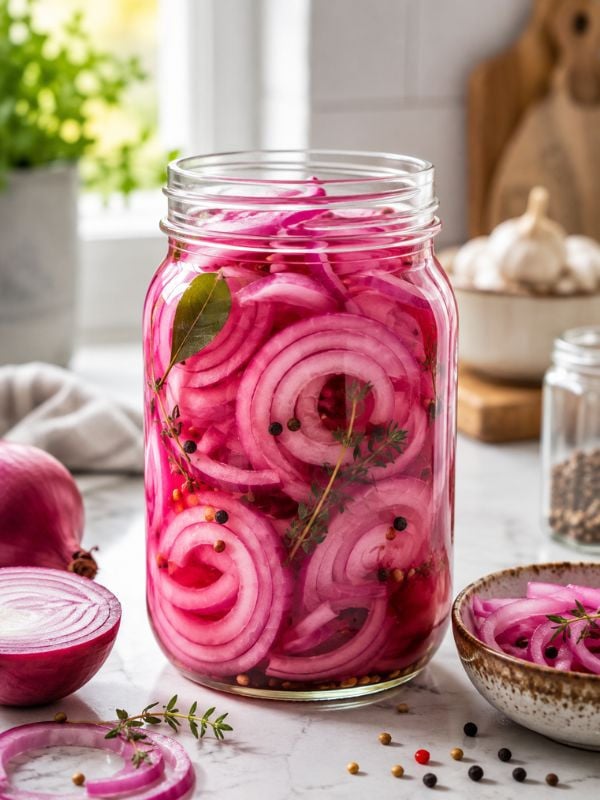
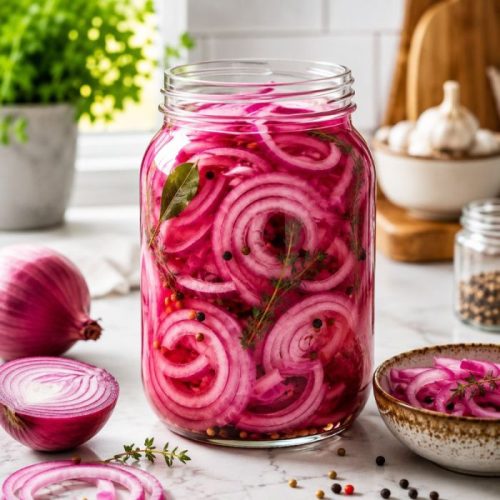
Tangy Pickled Red Onions are one of the easiest refrigerator pickles to make and one of the most useful toppings to keep available. Thin onion slices soften slightly while developing a beautiful pink color and a balanced sweet-tart flavor.
I use these pickled onions on everything from tacos and burgers to salads, sandwiches, and avocado toast. They add freshness and a little acidity that can completely change a simple meal. Because they require only a few ingredients and a short resting time, they are perfect for beginners.
Tangy Pickled Red Onions
Ingredients
- 2 large red onions
- 1 cup white vinegar
- 1 cup water
- 1 tbsp sugar
- 1 tbsp salt
- 1 tsp black peppercorns
- 1 tsp mustard seeds
- 1 bay leaf
Instructions
- Peel the red onions and slice them into very thin rings using a sharp knife or mandoline for the best texture.
- Pack the onion slices into a clean glass jar, pressing gently so they fit without becoming overly compacted.
- Add peppercorns, mustard seeds, and the bay leaf directly into the jar with the onions.
- Heat vinegar, water, sugar, and salt in a saucepan until the sugar and salt dissolve completely.
- Pour the warm brine over the onions, making sure all slices are covered by the liquid.
- Let the jar sit uncovered for about 30 minutes while it cools slightly and the onions begin changing color.
- Cover tightly and refrigerate, then enjoy after a few hours or allow the flavor to deepen overnight.
6. Garlic Herb Pickled Green Beans
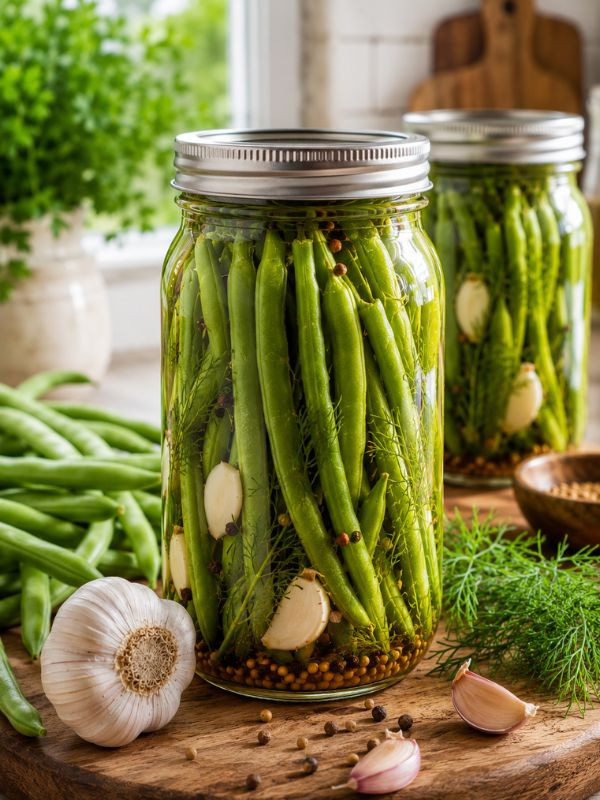
Garlic Herb Pickled Green Beans are a crunchy and flavorful way to enjoy fresh green beans beyond traditional side dishes. The beans maintain their firm texture while soaking up the savory flavors of garlic, dill, vinegar, and herbs. Unlike cooked green beans, refrigerator pickling keeps their natural snap and creates a refreshing contrast with heavier meals.
These pickled green beans are perfect for adding to snack boards, serving alongside sandwiches, or enjoying straight from the jar. I especially like making them during the warmer months when fresh green beans are abundant. They also make a beautiful homemade gift when packed into clear jars with fresh herbs.
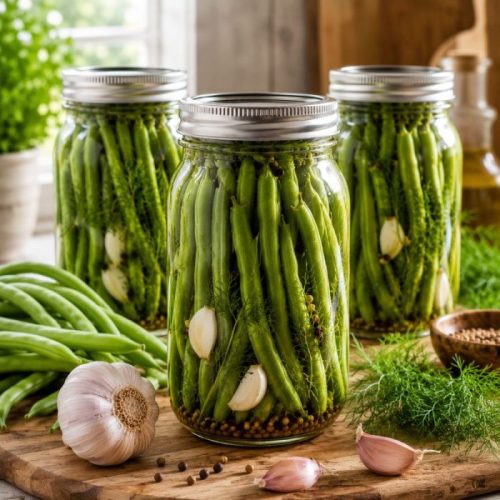
Garlic Herb Pickled Green Beans
Ingredients
- 1 1/2 pounds fresh green beans
- 4 garlic cloves
- 4 fresh dill sprigs
- 1 1/2 cups white vinegar
- 1 1/2 cups water
- 1 tbsp kosher salt
- 1 tsp sugar
- 1 tsp black peppercorns
- 1 tsp mustard seeds
Instructions
- Wash the green beans thoroughly, trim the ends, and cut them slightly shorter than the height of your glass jars so they fit comfortably inside.
- Blanch the green beans in boiling water for about 2 minutes, then transfer them immediately into ice water to preserve their bright color and crisp texture.
- Place garlic cloves, dill sprigs, peppercorns, and mustard seeds evenly between clean glass jars.
- Pack the cooled green beans vertically into the jars, arranging them tightly while leaving enough space for the pickling liquid.
- Combine vinegar, water, salt, and sugar in a saucepan and heat gently until the salt and sugar dissolve completely.
- Pour the warm brine over the green beans until they are fully covered, then allow the jars to cool slightly.
- Seal the jars and refrigerate for at least one day before eating, allowing the herbs and garlic to infuse throughout the beans.
7. Sweet Spicy Pickled Peppers
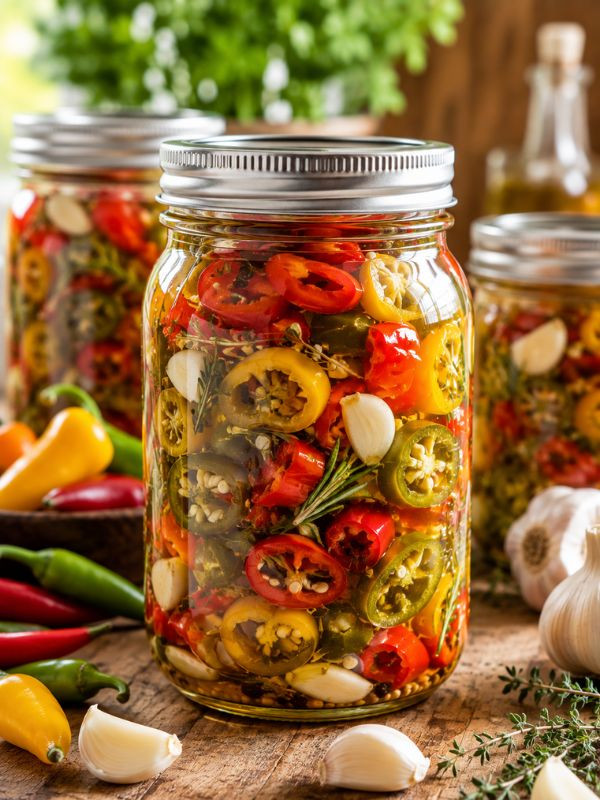
Sweet Spicy Pickled Peppers combine gentle sweetness with a pleasant kick of heat. A mixture of colorful peppers is preserved in a simple vinegar brine enhanced with garlic, sugar, and spices, creating a condiment that adds instant personality to almost any meal.
I love keeping these peppers available because they can transform ordinary dishes quickly. Add them to sandwiches, pizzas, burgers, salads, or cheese boards for a bright pop of flavor. The recipe can be adjusted depending on your preferred spice level by mixing mild peppers with hotter varieties.
Pro Tip: Combine different pepper colors and varieties to create a more attractive jar with layers of flavor.
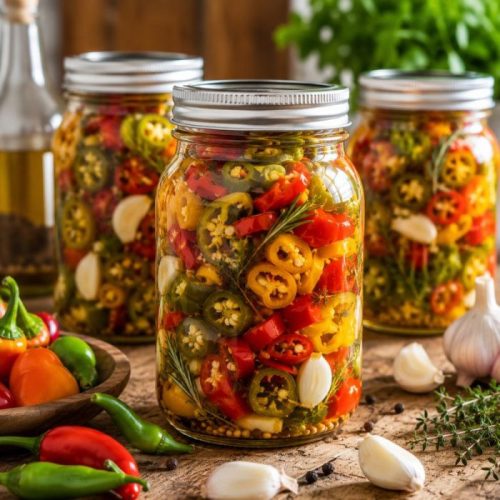
Sweet Spicy Pickled Peppers
Ingredients
- 2 pounds mixed peppers
- 3 garlic cloves
- 1 cup white vinegar
- 1 cup water
- 3 tbsp sugar
- 1 tbsp salt
- 1 tsp coriander seeds
- 1 tsp red pepper flakes
- Fresh oregano
Instructions
- Wash the peppers carefully, remove stems, and slice them into rings or strips depending on how you plan to use them later.
- Place garlic cloves, oregano, coriander seeds, and red pepper flakes into clean jars to create the flavor foundation.
- Pack the sliced peppers into the jars, mixing different colors together for a visually appealing pickle mixture.
- Combine vinegar, water, sugar, and salt in a saucepan, then warm the mixture until everything dissolves into a smooth brine.
- Slowly pour the warm pickling liquid into the jars, making sure the peppers are completely covered beneath the surface.
- Let the jars cool naturally before placing lids on tightly and moving them into the refrigerator.
- Allow the peppers to rest for at least 24 hours before serving so the sweet and spicy flavors fully develop.
8. Asian Style Cucumber Pickles
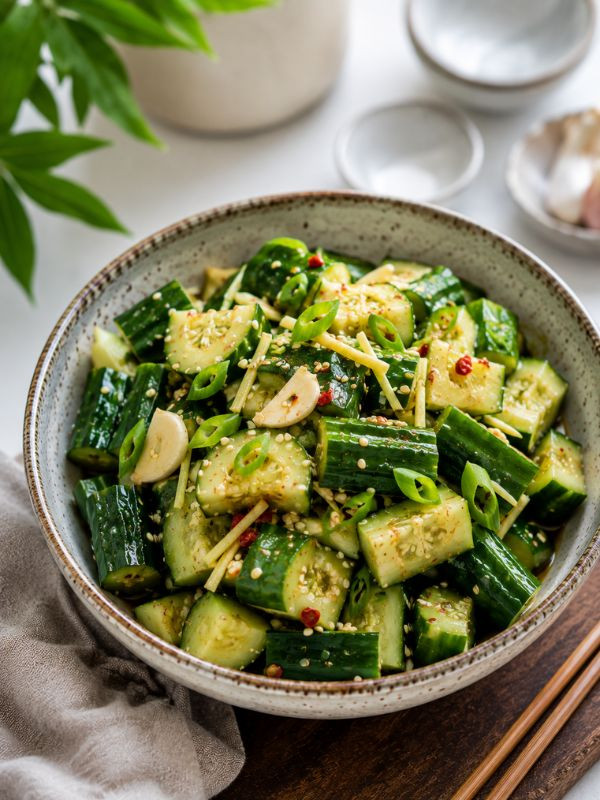
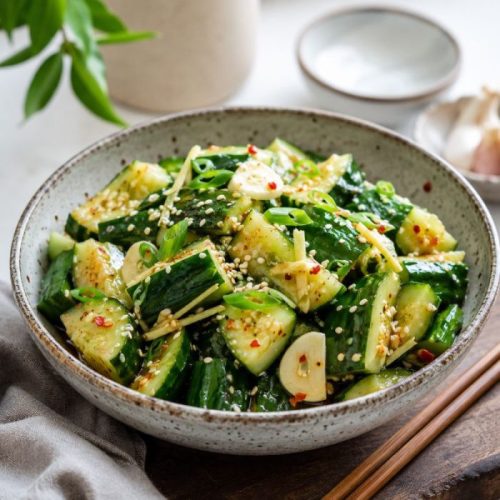
Asian Style Cucumber Pickles bring together refreshing crunch with a balanced combination of salty, sweet, tangy, and slightly spicy flavors. Fresh cucumbers are paired with rice vinegar, sesame oil, garlic, ginger, and chili for a quick refrigerator pickle inspired by Asian flavors.
These pickles are especially enjoyable with rice bowls, noodles, grilled meats, and dumplings. The cucumbers absorb the marinade quickly, making them a convenient side dish when you need something flavorful without much preparation. They are best served chilled when the texture is at its crispest.
Asian Style Cucumber Pickles
Ingredients
- 4 Persian cucumbers
- 2 garlic cloves, minced
- 1 tbsp fresh ginger, grated
- 1/3 cup rice vinegar
- 2 tbsp soy sauce
- 1 tbsp sesame oil
- 1 tbsp sugar
- 1 tsp chili flakes
- 1 tbsp sesame seeds
Instructions
- Wash the cucumbers and gently crush them with the side of a knife before cutting them into bite-sized pieces.
- Place the cucumber pieces into a bowl and sprinkle lightly with salt, allowing them to sit for 10 minutes to release extra moisture.
- Drain the cucumbers and pat them dry before transferring them into a clean container.
- Whisk rice vinegar, soy sauce, sesame oil, sugar, garlic, ginger, and chili flakes until the dressing is well combined.
- Pour the marinade over the cucumbers and toss gently until every piece is coated evenly.
- Sprinkle sesame seeds over the top and cover the container before placing it in the refrigerator.
- Chill for at least 2 hours before serving, allowing the cucumbers to absorb the full flavor of the Asian-inspired marinade.
9. Pickled Radish Refrigerator Slices
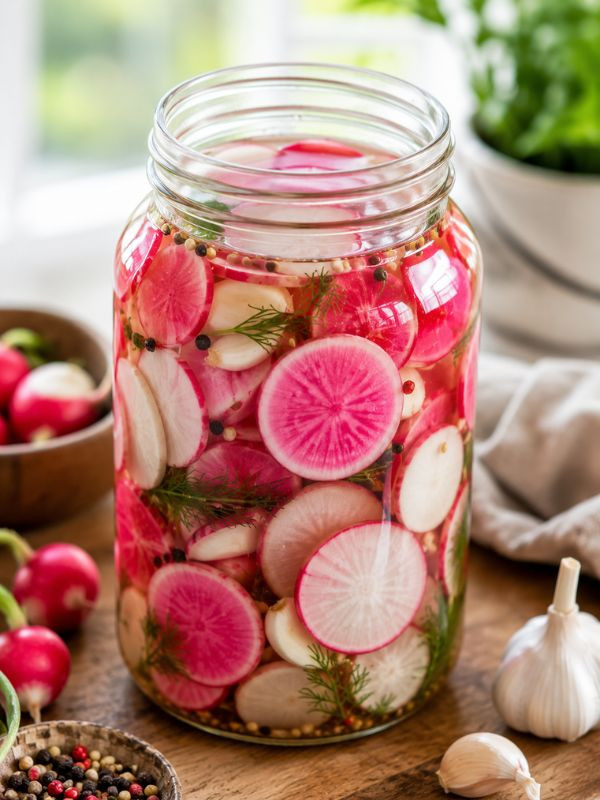
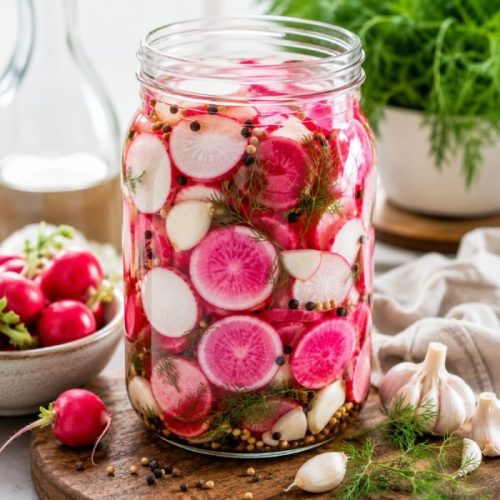
Pickled Radish Refrigerator Slices are a colorful addition to any meal, bringing a crisp texture and refreshing tang. The naturally vibrant pink edges of radishes become even more beautiful as they soak in the vinegar brine.
These quick pickles are especially useful for adding brightness to tacos, sandwiches, rice bowls, and salads. Their slightly peppery flavor becomes smoother after pickling while keeping the satisfying crunch that makes radishes unique. I like preparing a jar ahead because they are ready whenever a meal needs a little extra freshness.
Pickled Radish Refrigerator Slices
Ingredients
- 2 bunches radishes
- 2 garlic cloves
- 1 cup white vinegar
- 1 cup water
- 1 tbsp sugar
- 1 tbsp salt
- 1 tsp black peppercorns
- 1 tsp mustard seeds
Instructions
- Wash the radishes carefully, remove the tops and roots, then slice them into thin rounds using a sharp knife or mandoline.
- Pack the radish slices into a clean glass jar, arranging them evenly so the brine can move freely around each piece.
- Add garlic cloves, peppercorns, and mustard seeds directly into the jar with the radishes.
- Heat vinegar, water, sugar, and salt in a saucepan until the sugar and salt completely dissolve.
- Pour the warm brine into the jar, covering all radish slices beneath the liquid.
- Allow the jar to cool for several minutes before sealing and transferring it to the refrigerator.
- Enjoy after a few hours for a mild pickle flavor, or wait overnight for a deeper tangy taste and brighter color.
10. Honey Mustard Pickled Cucumbers
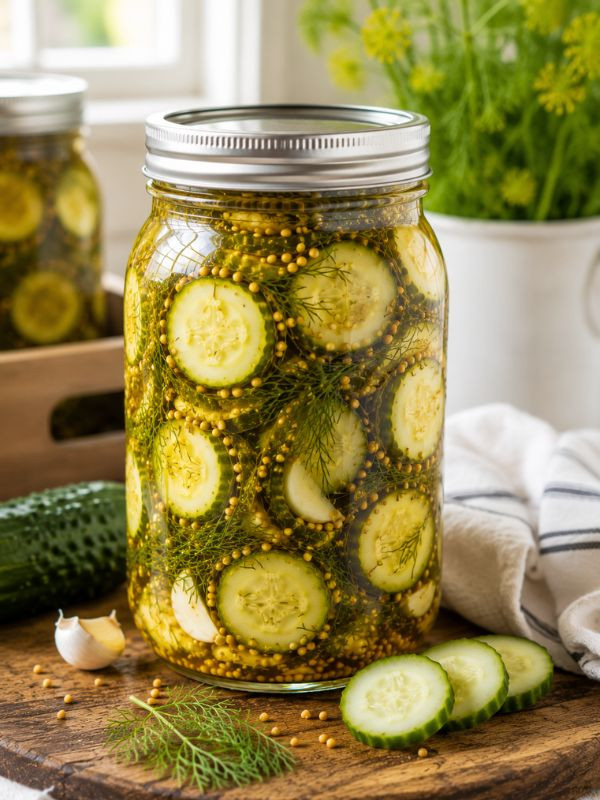
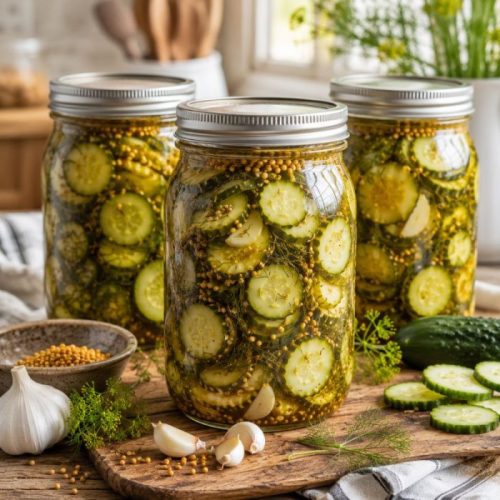
Honey Mustard Pickled Cucumbers offer a unique balance of sweet, tangy, and slightly savory flavors. The combination of honey and mustard creates a softer pickle profile that works beautifully with crisp cucumber slices.
These pickles are excellent for sandwiches, grilled chicken, burgers, and picnic meals. They are also a nice change from traditional dill pickles when you want something a little different. The honey adds a gentle sweetness while mustard seeds provide small bursts of flavor throughout the jar.
Pro Tip: Use raw honey instead of heavily processed sweeteners for a richer flavor and smoother brine.
Honey Mustard Pickled Cucumbers
Ingredients
- 2 pounds cucumbers
- 1/2 cup honey
- 1 cup white vinegar
- 1 cup water
- 1 tbsp salt
- 2 tbsp yellow mustard seeds
- 2 garlic cloves
- Fresh dill
Instructions
- Wash the cucumbers thoroughly and slice them into rounds or spears depending on your preferred serving style.
- Place garlic cloves, fresh dill, and mustard seeds into clean jars before adding the cucumber pieces.
- Pack the cucumbers tightly into the jars while leaving enough space for the honey mustard brine.
- Combine vinegar, water, honey, and salt in a saucepan and warm gently until the honey blends completely into the liquid.
- Pour the prepared brine over the cucumbers, making sure every piece is fully submerged.
- Let the jars cool slightly, then cover tightly and place them in the refrigerator.
- Allow the cucumbers to pickle overnight before tasting, then continue chilling for stronger flavor over the following days.
11. Spicy Garlic Dill Spears
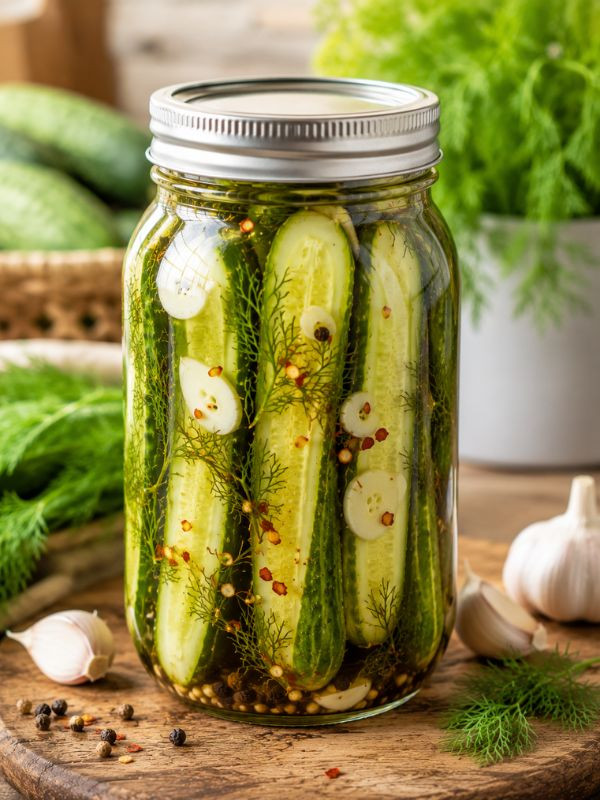
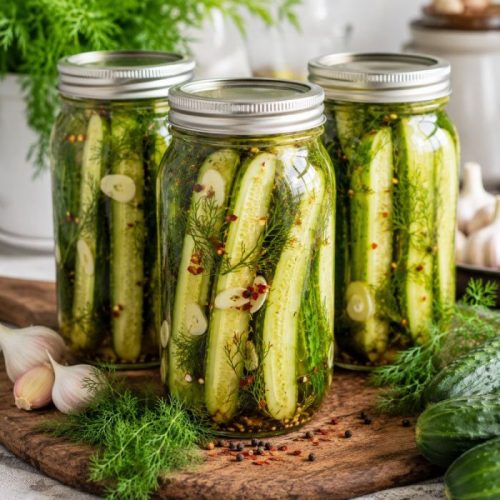
Spicy Garlic Dill Spears are a classic refrigerator pickle with an extra layer of heat. Thick cucumber spears soak in a bold brine filled with fresh dill, garlic, chili flakes, and peppercorns, creating a crunchy snack with a satisfying spicy finish.
These pickles are perfect for people who enjoy traditional dill flavors but want something more exciting. I like serving them alongside sandwiches, grilled burgers, barbecue dishes, or simply eating them straight from the jar when I want something crisp and refreshing. The longer they sit, the stronger the garlic and spice flavors become.
Pro Tip: Keep the cucumber ends intact and use firm, small cucumbers because they hold their crunch better during refrigeration.
Spicy Garlic Dill Spears
Ingredients
- 2 pounds small cucumbers
- 5 garlic cloves, sliced
- 5 fresh dill sprigs
- 1 1/2 cups white vinegar
- 1 1/2 cups water
- 1 tbsp kosher salt
- 1 tsp sugar
- 1 tsp chili flakes
- 1 tsp black peppercorns
Instructions
- Wash the cucumbers thoroughly, trim the ends, and cut them lengthwise into evenly sized spears that will fit inside your jars.
- Place garlic slices, fresh dill, peppercorns, and chili flakes into clean glass jars to create a flavorful base.
- Arrange the cucumber spears vertically inside the jars, packing them firmly but avoiding excessive pressure that could damage their texture.
- Combine vinegar, water, salt, and sugar in a saucepan, then warm gently until the salt and sugar dissolve completely.
- Carefully pour the warm brine into each jar, ensuring the cucumbers are completely covered by the liquid.
- Let the jars cool at room temperature for several minutes before sealing them and transferring them into the refrigerator.
- Allow the pickles to rest for at least one day before eating, although waiting three days creates a stronger garlic and chili flavor.
12. Pickled Cherry Tomato Bites
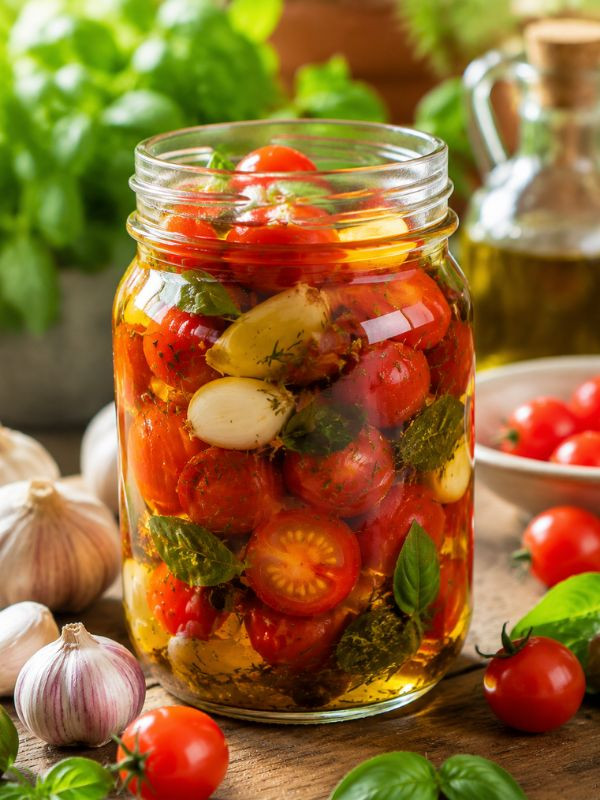
Pickled Cherry Tomato Bites are a fun way to enjoy fresh tomatoes with a completely different flavor profile. The tomatoes remain juicy while absorbing a tangy brine infused with garlic, herbs, and spices. Each bite delivers a burst of sweet tomato flavor followed by a refreshing pickle finish.
These little pickled tomatoes are especially good on salads, cheese boards, sandwiches, and appetizer platters. I enjoy making them when cherry tomatoes are at their sweetest because the contrast between natural sweetness and vinegar creates a delicious balance.
Pro Tip: Pierce each tomato lightly with a toothpick before pickling so the brine can reach the center more easily.
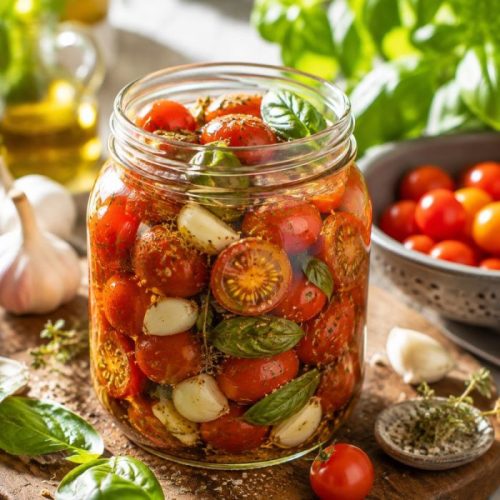
Pickled Cherry Tomato Bites
Ingredients
- 2 pounds cherry tomatoes
- 3 garlic cloves
- 2 tbsp fresh basil
- 1 cup white vinegar
- 1 cup water
- 1 tbsp salt
- 1 tbsp sugar
- 1 ttsp black peppercorns
- 1 tsp dried oregano
Instructions
- Wash the cherry tomatoes carefully and pierce each one once or twice with a toothpick to help the flavors penetrate.
- Place garlic cloves, basil leaves, peppercorns, and oregano into a clean glass jar.
- Add the cherry tomatoes gently, filling the jar while leaving enough room for the pickling liquid.
- Heat vinegar, water, salt, and sugar in a small saucepan until the salt and sugar dissolve completely.
- Pour the warm brine over the tomatoes until they are fully covered.
- Allow the jar to cool slightly before sealing and placing it in the refrigerator.
- Let the tomatoes pickle overnight before serving, then enjoy them chilled as a snack or flavorful topping.
13. Turmeric Ginger Pickled Cauliflower
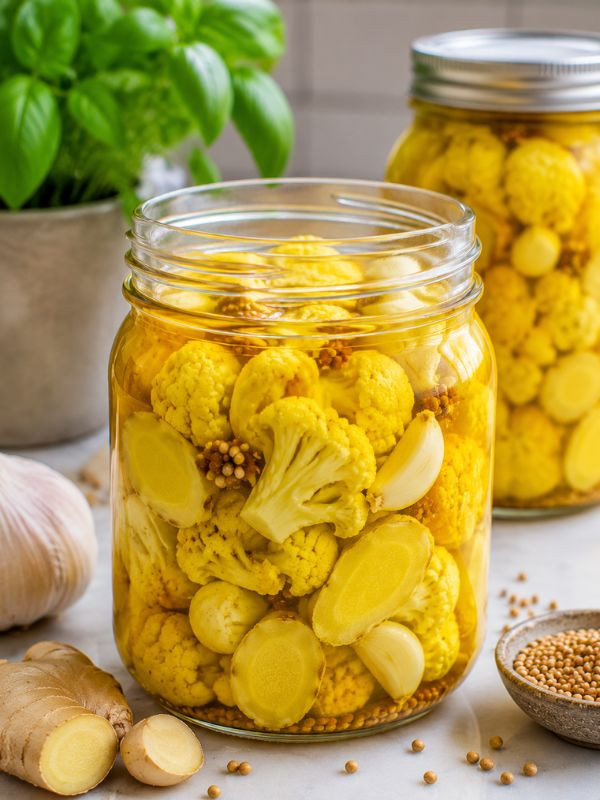
Turmeric Ginger Pickled Cauliflower is a bright, flavorful refrigerator pickle with a beautiful golden color. The cauliflower florets absorb the warm flavors of turmeric, ginger, garlic, and vinegar while maintaining a pleasant crunch.
This recipe is a great way to add more variety to homemade pickles because cauliflower has a sturdy texture that holds up well. I like serving it with rice dishes, roasted meats, sandwiches, or alongside a simple cheese platter. The earthy spices make it feel unique compared with traditional cucumber pickles.
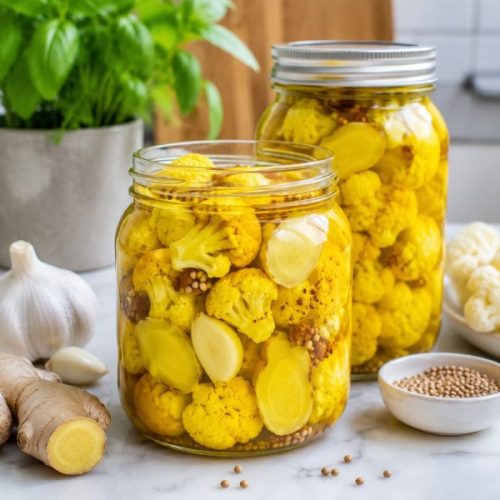
Turmeric Ginger Pickled Cauliflower
Ingredients
- 1 large cauliflower head
- 3 garlic cloves
- 1 tbsp fresh ginger, sliced
- 1 tsp turmeric powder
- 1 1/2 cups white vinegar
- 1 cup water
- 1 tbsp salt
- 1 tbsp sugar
- 1 tsp mustard seeds
Instructions
- Wash the cauliflower thoroughly, remove the leaves, and cut the head into small bite-sized florets.
- Bring a pot of water to a boil, blanch the cauliflower for about one minute, then transfer it immediately into cold water to maintain its crunch.
- Place garlic, ginger slices, turmeric, and mustard seeds into clean glass jars.
- Pack the cauliflower florets into the jars, leaving enough room for the brine to circulate around each piece.
- Heat vinegar, water, salt, and sugar together until the ingredients dissolve into a smooth pickling liquid.
- Pour the warm golden brine over the cauliflower until all florets are covered.
- Cool the jars completely, refrigerate, and wait at least one day before enjoying the full turmeric and ginger flavor.
14. Classic Pickled Beets Recipe
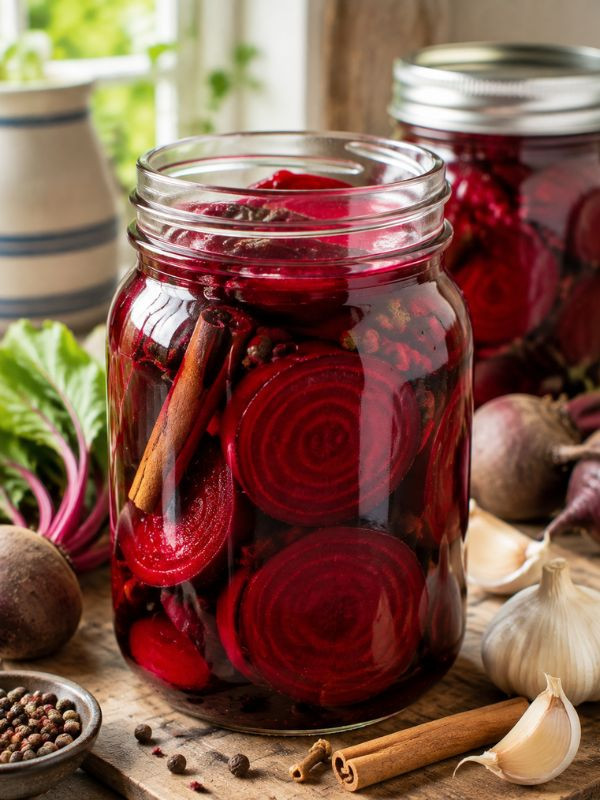
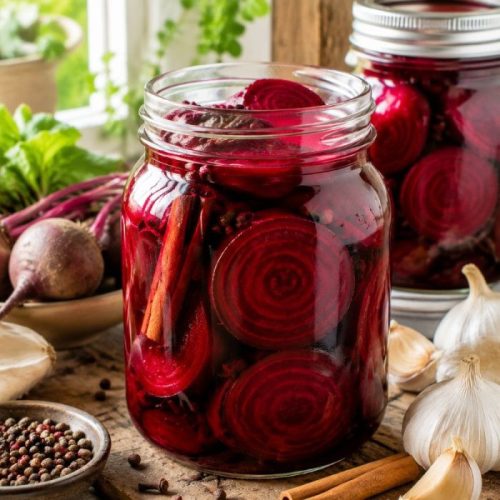
Classic Pickled Beets Recipe brings together earthy sweetness and bright vinegar flavor in a beautiful homemade jar. The natural color of the beets creates a stunning deep ruby brine, while spices add warmth and complexity.
These refrigerator pickled beets are wonderful in salads, grain bowls, sandwiches, or served alongside roasted meats. I especially enjoy adding them to simple meals because their bold color and flavor instantly make a plate feel more interesting. They also keep their firm texture without becoming overly soft.
Classic Pickled Beets Recipe
Ingredients
- 3 pounds fresh beets
- 1 1/2 cups white vinegar
- 1 cup water
- 1/2 cup sugar
- 1 tbsp salt
- 1 cinnamon stick
- 4 whole cloves
- 1 tsp black peppercorns
Instructions
- Wash the beets thoroughly, trim the tops and roots, and cook them until tender using boiling or steaming.
- Allow the cooked beets to cool enough to handle, then peel away the skins and slice them into even rounds.
- Divide cinnamon, cloves, and peppercorns between clean jars before adding the beet slices.
- Combine vinegar, water, sugar, and salt in a saucepan and heat until the sugar dissolves completely.
- Pour the warm brine over the beet slices, ensuring they are fully submerged beneath the liquid.
- Let the jars cool at room temperature before sealing them and placing them into the refrigerator.
- Chill for at least one day before serving, allowing the beets to develop their signature sweet and tangy flavor.
15. Pickled Brussels Sprouts Jars
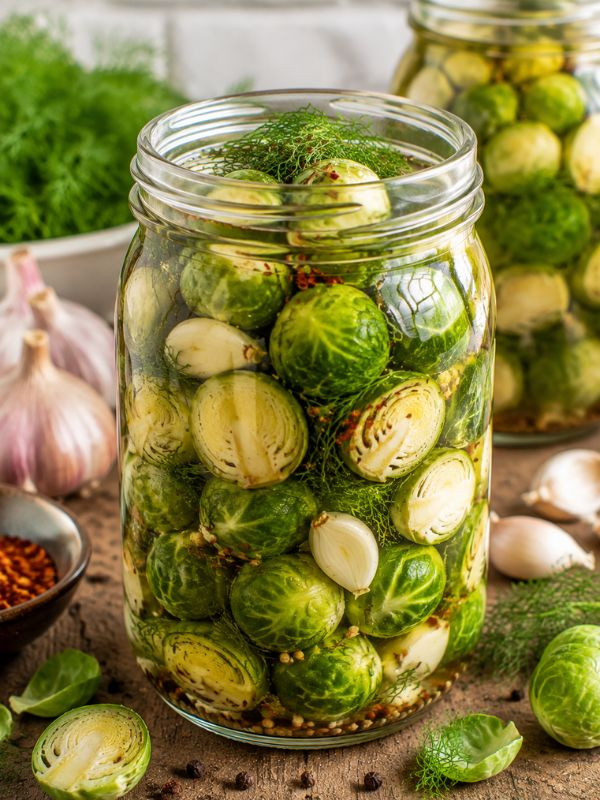
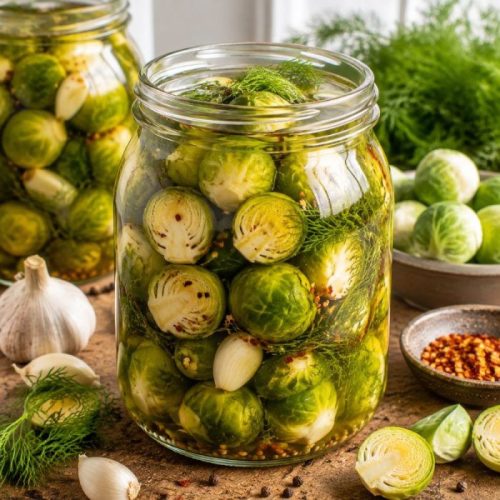
Pickled Brussels Sprouts Jars are a creative refrigerator pickle that turns a sometimes-overlooked vegetable into a crunchy, flavorful snack. The sprouts maintain their satisfying texture while absorbing garlic, vinegar, herbs, and spices.
These pickled vegetables are especially enjoyable on appetizer boards or served with grilled foods. The flavor becomes deeper after a few days in the refrigerator, making them worth preparing ahead. I recommend choosing smaller Brussels sprouts because they pickle more evenly and have a better bite.
Pickled Brussels Sprouts Jars
Ingredients
- 2 pounds Brussels sprouts
- 4 garlic cloves
- 3 fresh dill sprigs
- 1 1/2 cups white vinegar
- 1 1/2 cups water
- 1 tbsp salt
- 1 tbsp sugar
- 1 tsp mustard seeds
- 1 tsp red pepper flakes
Instructions
- Wash the Brussels sprouts carefully, remove any damaged outer leaves, and trim the stems before cutting larger sprouts in half.
- Bring a pot of water to a boil and blanch the Brussels sprouts for about two minutes before cooling them quickly in ice water.
- Add garlic, dill, mustard seeds, and red pepper flakes into clean jars to create the seasoning base.
- Pack the cooled Brussels sprouts tightly into the jars while leaving enough room for the pickling liquid.
- Heat vinegar, water, salt, and sugar together until the salt and sugar dissolve completely.
- Pour the warm brine into the jars, making sure all Brussels sprouts are covered beneath the surface.
- Refrigerate the jars for several days before serving so the flavors fully develop and the sprouts become deliciously tangy.
16. Refrigerator Pickled Okra
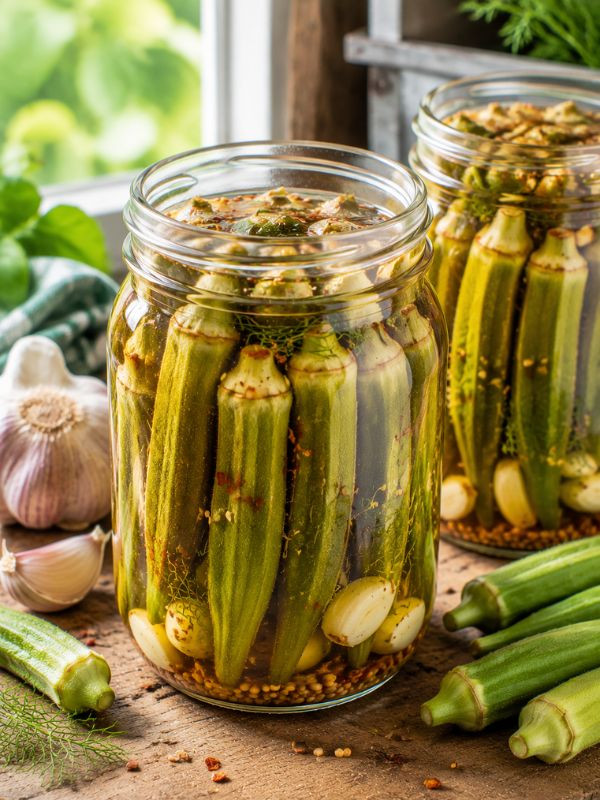
Refrigerator Pickled Okra is a delicious way to enjoy this unique vegetable with a crisp, tangy twist. Fresh okra absorbs the flavors of garlic, dill, vinegar, and spices while keeping its natural texture. The quick pickling process creates a snack that is bright, flavorful, and much less complicated than traditional canning methods.
I like serving these pickled okra spears alongside barbecue dishes, sandwiches, cheese boards, and grilled meats. They also make a fun addition to appetizer platters because their shape and vibrant color stand out. If you have never tried pickled okra before, this recipe is a simple introduction with plenty of flavor.
Pro Tip: Choose small, firm okra pods because larger pods can become tougher and less pleasant after pickling.
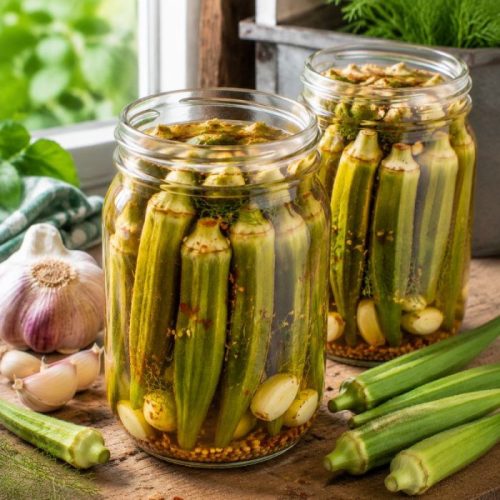
Refrigerator Pickled Okra
Ingredients
- 1 1/2 pounds fresh okra
- 4 garlic cloves
- 4 fresh dill sprigs
- 1 1/2 cups white vinegar
- 1 1/2 cups water
- 1 tbsp kosher salt
- 1 tbsp sugar
- 1 tsp mustard seeds
- 1 tsp black peppercorns
- 1/2 tsp chili flakes, optional
Instructions
- Wash the okra thoroughly under cold water and dry each pod carefully with a clean towel to remove excess moisture before pickling.
- Trim the stem ends lightly, being careful not to cut too deeply into the pods because this can release more natural sliminess.
- Place garlic cloves, dill sprigs, mustard seeds, peppercorns, and chili flakes into clean glass jars to create the seasoning base.
- Pack the okra vertically into the jars, arranging the pods tightly while leaving enough room for the vinegar solution.
- Heat vinegar, water, salt, and sugar in a saucepan over medium heat until the salt and sugar dissolve completely.
- Pour the warm brine over the okra until all pods are fully submerged, then allow the jars to cool before sealing.
- Store the jars in the refrigerator and let them rest for at least one day, though three days will create a deeper garlic and dill flavor.
17. Mexican Style Pickled Carrots
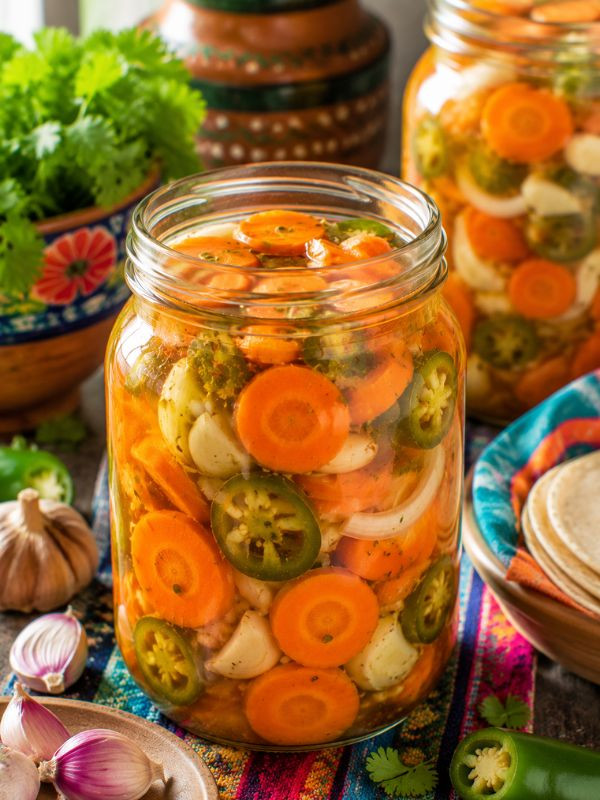
Mexican Style Pickled Carrots are a colorful and crunchy condiment commonly enjoyed with tacos, sandwiches, and grilled dishes. Carrots are combined with jalapeños, onions, garlic, and oregano in a tangy vinegar brine that creates a perfect balance of sweetness, spice, and acidity.
These refrigerator pickles are one of my favorite ways to add extra flavor to simple meals. The carrots remain crisp while the jalapeños slowly infuse their heat into the brine. They are easy to prepare ahead and become even better after a few days in the refrigerator.
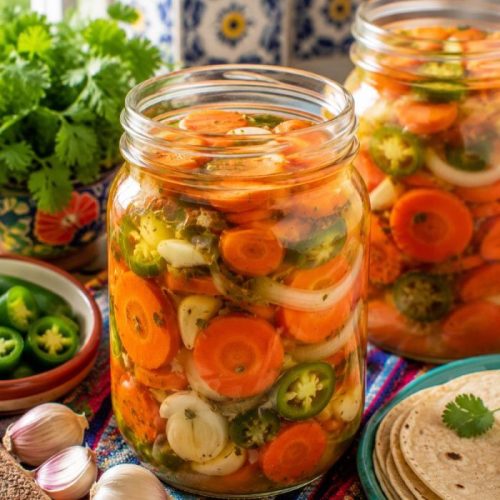
Mexican Style Pickled Carrots
Ingredients
- 2 pounds carrots
- 2 jalapeños, sliced
- 1 small onion, sliced
- 4 garlic cloves
- 1 1/2 cups white vinegar
- 1 cup water
- 1 tbsp salt
- 1 tbsp sugar
- 1 tsp dried oregano
Instructions
- Peel the carrots and slice them into thin rounds or diagonal pieces that are easy to eat while maintaining their crunch.
- Heat a small amount of water in a saucepan and lightly simmer the carrots for 2–3 minutes to soften them slightly without making them mushy.
- Add sliced jalapeños, onions, garlic, oregano, and bay leaves into clean glass jars.
- Arrange the carrots inside the jars, mixing them with the jalapeños and onions so the flavors distribute evenly.
- Combine vinegar, water, salt, and sugar in a saucepan and heat until the seasoning dissolves into a clear brine.
- Pour the warm liquid over the vegetables until everything is covered, then let the jars cool before sealing.
- Refrigerate for at least one day before serving, allowing the carrots to absorb the spicy, tangy Mexican-inspired flavors.
18. Dill Pickled Zucchini Ribbons
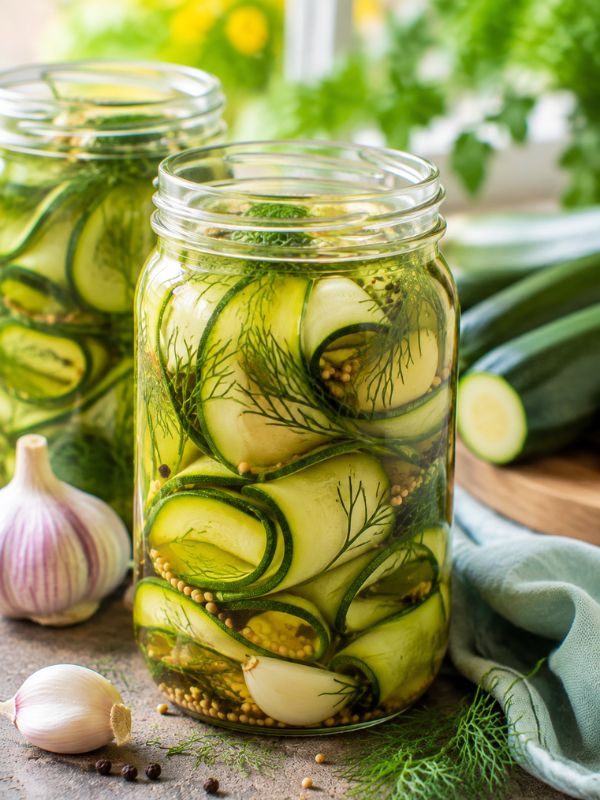
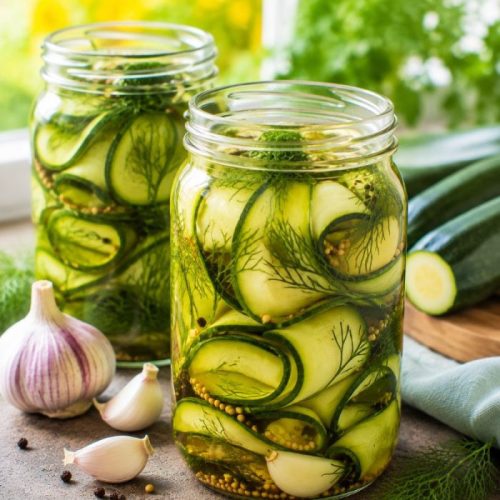
Dill Pickled Zucchini Ribbons are a creative alternative to traditional cucumber pickles. Thin zucchini strips absorb the flavors of vinegar, garlic, and fresh dill while maintaining a delicate but satisfying texture. Their ribbon shape makes them especially attractive when served on sandwiches, salads, or appetizer plates.
I enjoy this recipe when zucchini is abundant during summer because it transforms a simple vegetable into something completely different. The mild flavor of zucchini allows the herbs and spices to stand out, creating a refreshing pickle that feels light and elegant.
Pro Tip: Use a vegetable peeler or mandoline to create thin, even ribbons that pickle quickly and evenly.
Dill Pickled Zucchini Ribbons
Ingredients
- 3 medium zucchini
- 3 garlic cloves
- 4 fresh dill sprigs
- 1 cup white vinegar
- 1 cup water
- 1 tbsp salt
- 1 tbsp sugar
- 1 tsp black peppercorns
- 1 tsp mustard seeds
Instructions
- Wash the zucchini thoroughly and use a vegetable peeler or mandoline to create long, thin ribbons from top to bottom.
- Place the zucchini ribbons on paper towels and gently pat them dry to remove excess moisture before adding them to the jars.
- Add garlic cloves, dill sprigs, peppercorns, and mustard seeds into clean glass jars.
- Carefully roll the zucchini ribbons and place them inside the jars, allowing them to fit loosely without being compressed.
- Warm vinegar, water, salt, and sugar in a saucepan until the brine becomes clear and the seasonings dissolve.
- Pour the warm brine over the zucchini ribbons, ensuring they are fully covered before sealing the jars.
- Refrigerate for at least 12 hours before eating, then enjoy the ribbons as a topping for sandwiches, salads, or grilled dishes.
19. Pickled Banana Pepper Rings
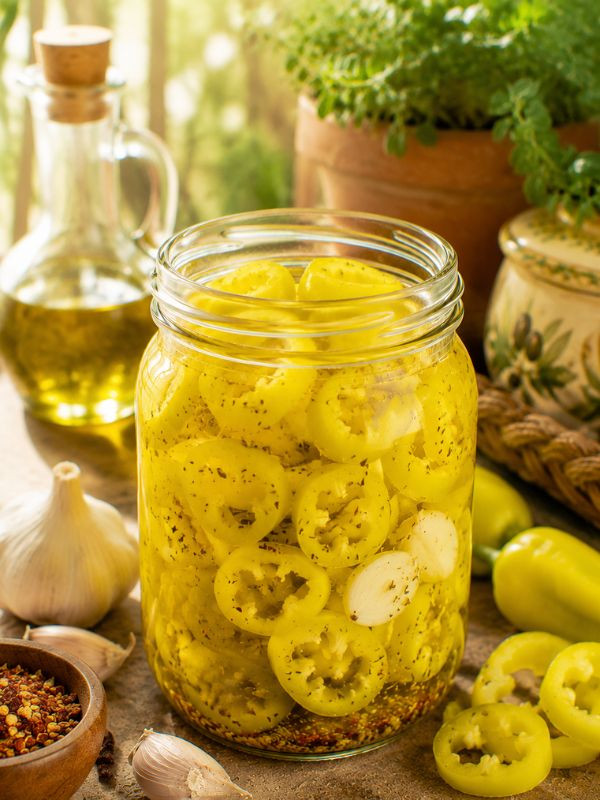
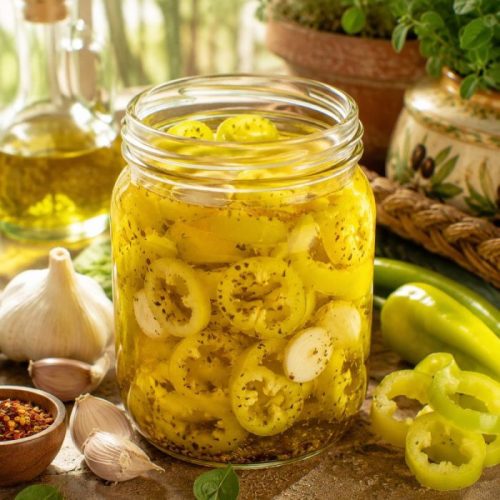
Pickled Banana Pepper Rings are a bright, tangy condiment that adds a gentle heat and refreshing crunch to everyday meals. These peppers have a naturally mild sweetness that pairs beautifully with vinegar, garlic, and spices.
They are especially popular as a topping for sandwiches, pizzas, burgers, salads, and Italian-style dishes. I like keeping a jar ready because just a few slices can add a completely different flavor dimension. The recipe can also be adjusted with hotter peppers if you prefer more spice.
Pickled Banana Pepper Rings
Ingredients
- 2 pounds banana peppers
- 3 garlic cloves
- 1 1/2 cups white vinegar
- 1 cup water
- 1 tbsp salt
- 1 tbsp sugar
- 1 tsp oregano
- 1 tsp mustard seeds
- 1 tsp black peppercorns
Instructions
- Wash the banana peppers thoroughly, remove the stems, and slice them into thin rings using a sharp knife.
- Remove seeds if you prefer a milder pickle, or leave some seeds intact for additional heat and flavor.
- Place garlic cloves, oregano, mustard seeds, and peppercorns into clean glass jars before adding the peppers.
- Fill the jars with pepper rings, gently pressing them down while keeping enough space for the pickling liquid.
- Heat vinegar, water, salt, and sugar in a saucepan until the mixture becomes fully dissolved and slightly warm.
- Pour the brine over the peppers, making sure every ring is covered beneath the surface.
- Cool the jars before sealing, then refrigerate overnight before using them as a topping or snack.
20. Crunchy Pickled Cabbage Slaw
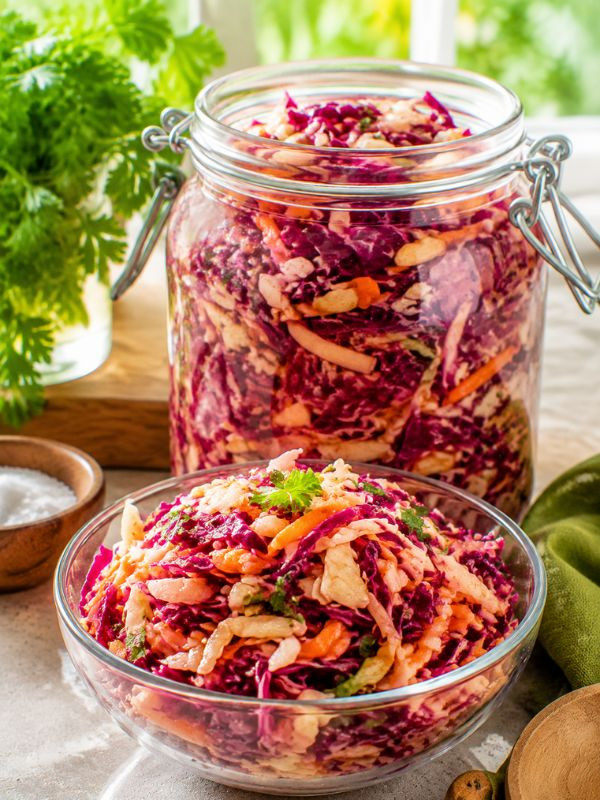
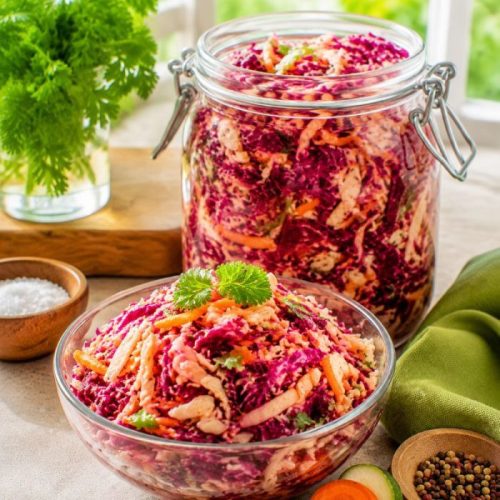
Crunchy Pickled Cabbage Slaw is a fresh and colorful refrigerator pickle that combines shredded cabbage, carrots, and a tangy vinegar dressing. Unlike traditional coleslaw with creamy dressing, this version stays crisp and refreshing while developing deeper flavor as it rests.
This pickle slaw is incredibly versatile. I enjoy using it as a topping for tacos, pulled pork sandwiches, burgers, rice bowls, and grilled meats. The combination of crunchy vegetables and bright acidity makes it a great addition whenever a meal needs something fresh.
Crunchy Pickled Cabbage Slaw
Ingredients
- small cabbage head, shredded
- 2 carrots, shredded
- 1 small red onion, thinly sliced
- 1 cup white vinegar
- 1 cup water
- 2 tbsp sugar
- 1 tbsp salt
- 1 tsp celery seeds
- 1 tsp mustard seeds
Instructions
- Wash and shred the cabbage finely, then combine it with shredded carrots and sliced red onion in a large mixing bowl.
- Sprinkle the vegetables lightly with salt and massage gently for a minute to help release some moisture and improve the texture.
- Pack the cabbage mixture into clean glass jars or a large airtight container, pressing gently so it settles evenly.
- Combine vinegar, water, sugar, celery seeds, and mustard seeds in a saucepan and heat until the sugar and salt dissolve.
- Pour the warm brine over the cabbage mixture, making sure the vegetables are evenly coated.
- Allow the container to cool slightly before covering and transferring it to the refrigerator.
- Let the slaw rest overnight before serving, then use it as a crunchy topping or refreshing side dish.
21. Sweet Cinnamon Apple Pickles
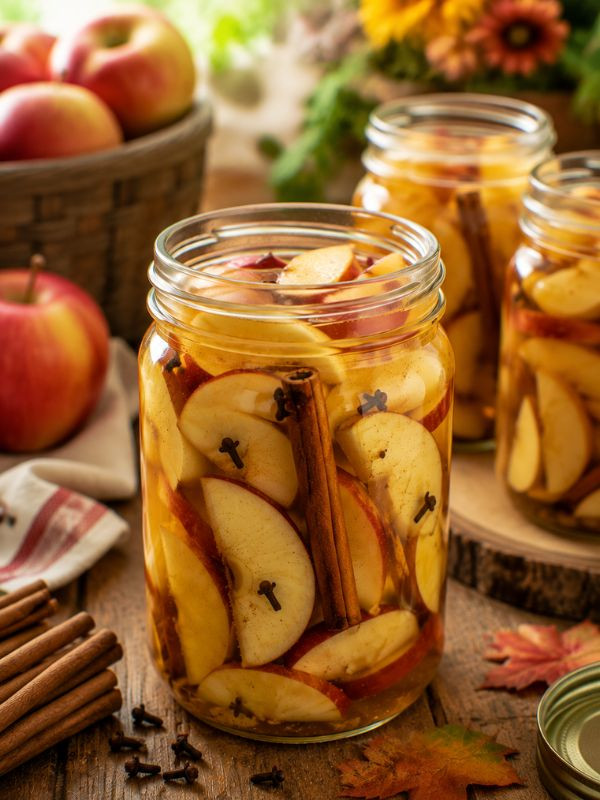
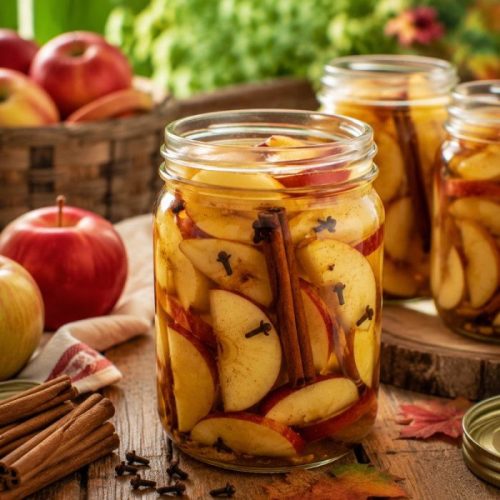
Sweet Cinnamon Apple Pickles are a unique refrigerator pickle that combines crisp apples with warm spices and a lightly sweet vinegar brine. The result is a refreshing snack with a surprising balance of sweetness, tanginess, and gentle cinnamon flavor.
These pickled apples are a creative addition to cheese boards, roasted pork dishes, sandwiches, and holiday meals. I especially enjoy making them during fall when fresh apples are at their best. The natural sweetness of the fruit pairs beautifully with the spiced brine, creating something that feels both comforting and refreshing.
Pro Tip: Choose firm apple varieties such as Honeycrisp, Fuji, or Granny Smith because they hold their shape better during pickling.
Sweet Cinnamon Apple Pickles
Ingredients
- 4 medium apples
- 1 cup apple cider vinegar
- 1 cup water
- 1/3 cup sugar
- 1 cinnamon stick
- 1 tsp whole cloves
- 1 tsp salt
- 1 tsp black peppercorns
- 1 tbsp lemon juice
Instructions
- Wash the apples thoroughly, remove the cores, and slice them into thin wedges or rounds depending on your preferred serving style.
- Toss the apple slices gently with lemon juice to help prevent browning while preparing the pickling liquid.
- Place cinnamon stick, cloves, peppercorns, and salt into clean glass jars before adding the prepared apple slices.
- Combine apple cider vinegar, water, and sugar in a saucepan, then warm gently until the sugar dissolves completely.
- Pour the warm spiced brine over the apples, making sure the fruit pieces are fully covered by the liquid.
- Allow the jars to cool slightly before sealing them and transferring them into the refrigerator.
- Let the apples rest overnight before serving, allowing the cinnamon and vinegar flavors to blend while keeping the fruit crisp.
22. Garlic Pickled Asparagus Spears
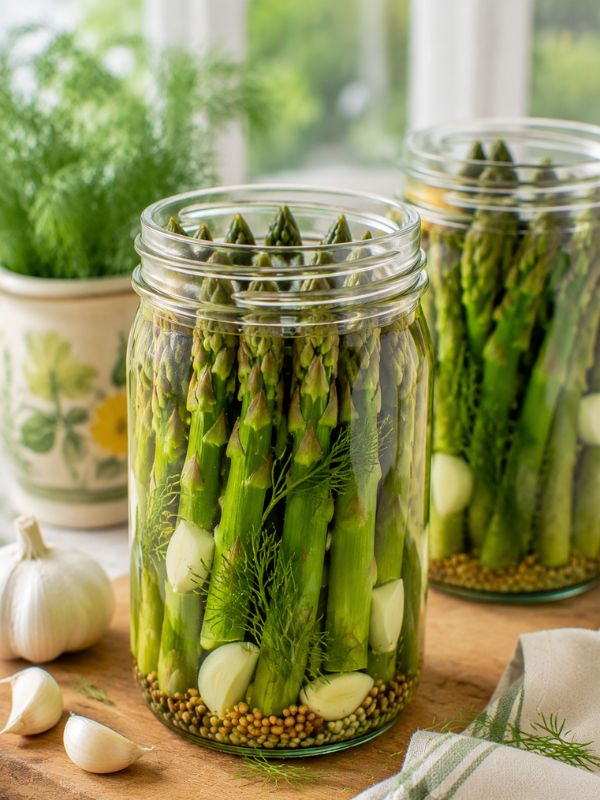
Garlic Pickled Asparagus Spears are a fresh and elegant refrigerator pickle that transforms asparagus into a flavorful snack or side dish. The tender-crisp spears absorb garlic, dill, vinegar, and spices while maintaining their natural green color and satisfying texture.
These pickled asparagus spears are wonderful for brunch plates, appetizer boards, salads, and holiday gatherings. I like preparing them when asparagus is in season because the vegetable already has a delicate flavor that works beautifully with a simple pickle brine.
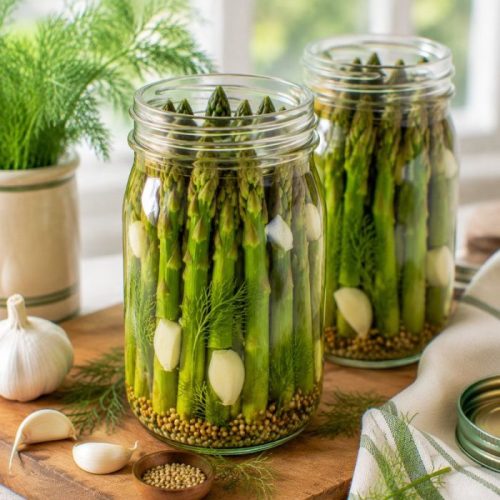
Garlic Pickled Asparagus Spears
Ingredients
- 2 pounds fresh asparagus
- 4 garlic cloves
- 4 fresh dill sprigs
- 1 1/2 cups white vinegar
- 1 cup water
- 1 tbsp kosher salt
- 1 tbsp sugar
- 1 tsp mustard seeds
- 1 tsp black peppercorns
Instructions
- Wash the asparagus thoroughly and trim the woody ends, cutting the spears so they fit comfortably inside your jars.
- Blanch the asparagus in boiling water for about one minute, then transfer it immediately into ice water to preserve its bright green color.
- Place garlic cloves, dill sprigs, mustard seeds, and peppercorns into clean glass jars.
- Arrange the asparagus spears vertically inside the jars, keeping them tightly packed but not crushed.
- Heat vinegar, water, salt, and sugar together until the salt and sugar dissolve into a clear brine.
- Pour the warm liquid over the asparagus until every spear is completely covered, then allow the jars to cool.
- Refrigerate for at least one day before serving, allowing the garlic and dill flavors to infuse throughout the asparagus.
23. Pickled Jalapeño Pepper Slices
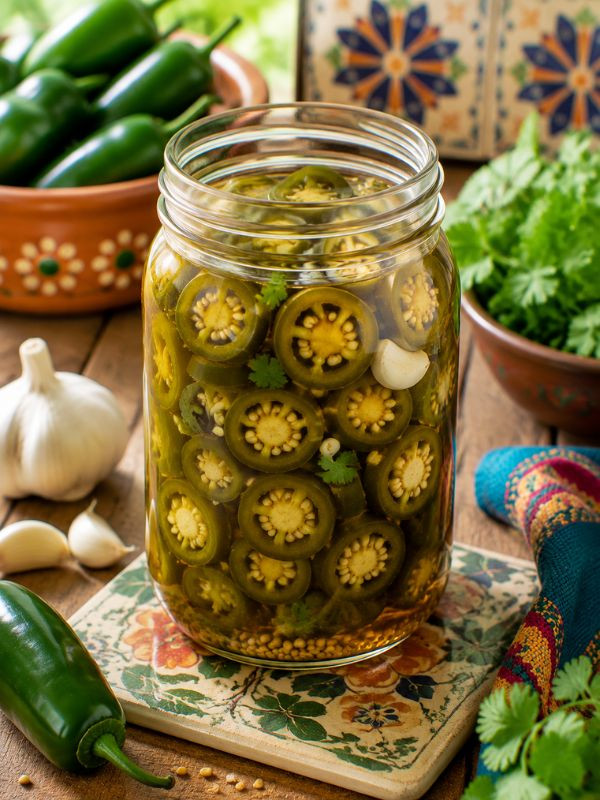
Pickled Jalapeño Pepper Slices are a must-have condiment for anyone who enjoys adding a little heat to meals. Fresh jalapeños soften slightly while soaking in a sweet and tangy vinegar brine, creating the perfect balance of spice and acidity.
These peppers are incredibly versatile and can instantly improve tacos, nachos, burgers, sandwiches, pizzas, and salads. I love keeping a jar in the refrigerator because even a few slices can add a bold flavor boost. The sweetness of the brine also helps mellow the sharp heat of fresh jalapeños.
Pro Tip: Slice jalapeños evenly and keep the seeds for extra heat, or remove them for a milder pickle.
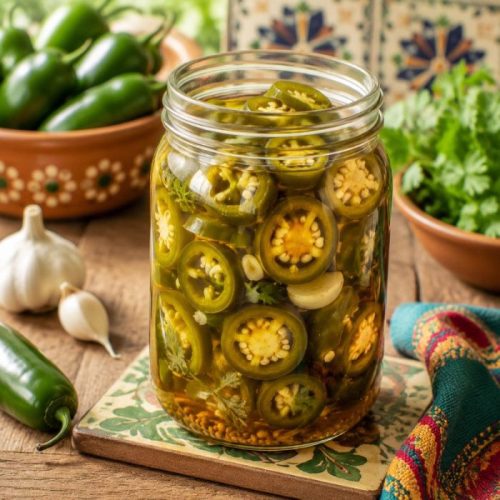
Pickled Jalapeño Pepper Slices
Ingredients
- 1 pound fresh jalapeños
- 3 garlic cloves
- 1 cup white vinegar
- 1 cup water
- 2 tbsp sugar
- 1 tbsp salt
- 1 tsp oregano
- 1 tsp black peppercorns
Instructions
- Wash the jalapeños carefully, remove the stems, and slice them into thin rings using a sharp knife.
- Place garlic cloves, oregano, and peppercorns into a clean glass jar before adding the sliced peppers.
- Pack the jalapeño slices into the jar, arranging them evenly so the brine can reach all pieces.
- Combine vinegar, water, sugar, and salt in a saucepan, then warm until the sugar and salt dissolve completely.
- Pour the warm brine over the jalapeños until they are fully submerged beneath the liquid.
- Let the jar cool for several minutes before sealing tightly and transferring it to the refrigerator.
- Allow the peppers to rest overnight before using them, giving the flavors time to develop and the heat to mellow slightly.
24. Spicy Korean Cucumber Pickles
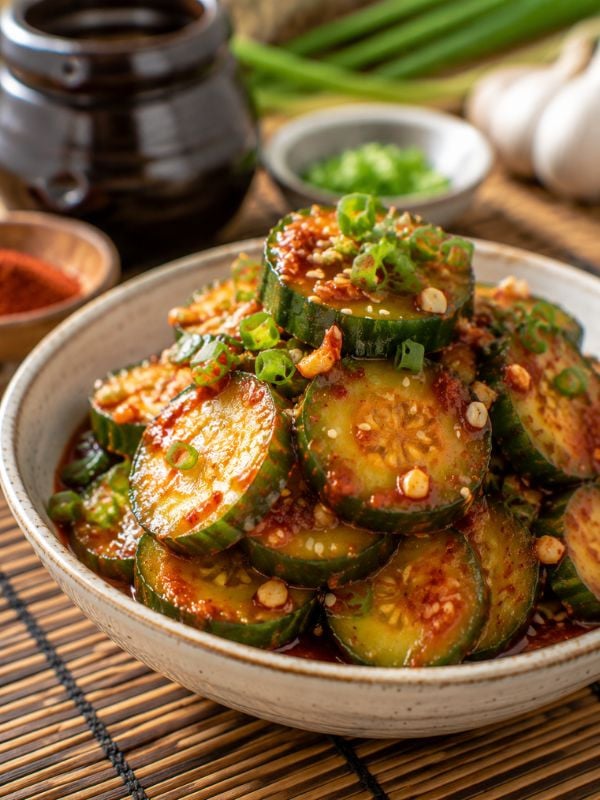
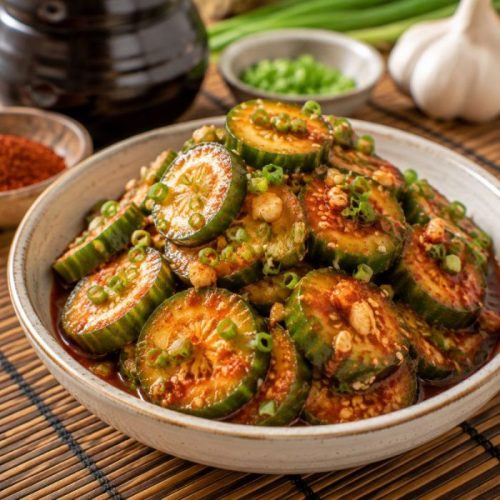
Spicy Korean Cucumber Pickles bring together crisp cucumbers with bold Korean-inspired flavors. Fresh cucumber pieces are combined with garlic, chili flakes, sesame oil, soy sauce, and a touch of sweetness for a refreshing pickle with a gentle spicy kick.
These pickles are perfect alongside rice dishes, grilled meats, noodles, and Korean-style meals. The combination of crunchy vegetables and spicy seasoning makes them incredibly satisfying. I enjoy making them when I want a quick side dish that feels flavorful without requiring complicated cooking.
Spicy Korean Cucumber Pickles
Ingredients
- 4 small cucumbers
- 2 garlic cloves, minced
- 1 tbsp gochugaru or chili flakes
- 2 tbsp soy sauce
- 2 tbsp rice vinegar
- 1 tbsp sesame oil
- 1 tbsp sugar
- 1 tbsp sesame seeds
- 2 green onions
Instructions
- Wash the cucumbers thoroughly and slice them into thin rounds or half-moon pieces depending on your preferred texture.
- Sprinkle the cucumber slices lightly with salt and allow them to rest for 10 minutes to remove excess moisture.
- Drain the cucumbers and gently pat them dry before placing them into a mixing bowl.
- Combine garlic, gochugaru, soy sauce, rice vinegar, sesame oil, sugar, and sesame seeds in a separate bowl.
- Pour the spicy seasoning mixture over the cucumbers and toss gently until every piece is evenly coated.
- Add sliced green onions and transfer the cucumbers into a sealed container.
- Refrigerate for several hours before serving, allowing the cucumbers to absorb the spicy, savory flavors.
25. Pickled Celery Sticks Recipe
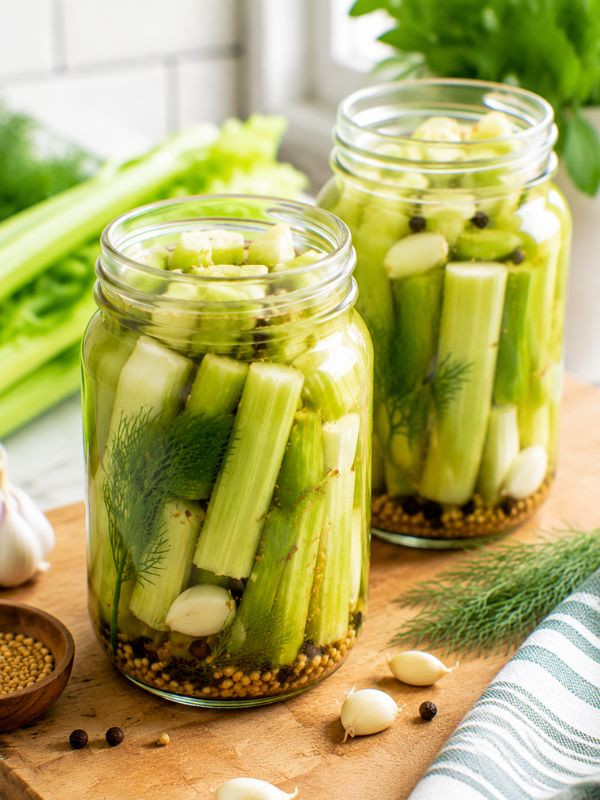
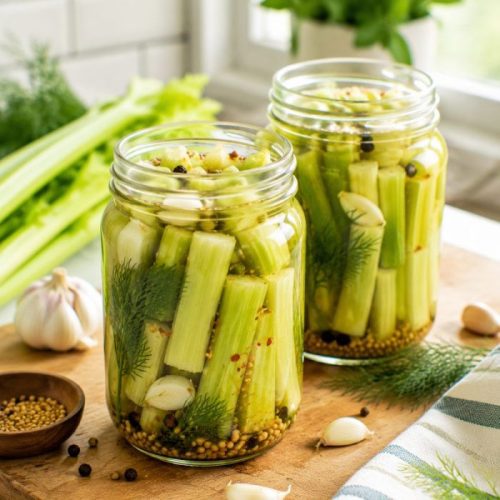
Pickled Celery Sticks Recipe creates a crisp, refreshing snack with a bright vinegar flavor and satisfying crunch. Celery naturally has a firm texture, making it an excellent vegetable for refrigerator pickling because it stays fresh even after soaking in brine.
These pickled celery sticks are great for adding variety to snack plates, salads, sandwiches, and appetizer trays. I like the contrast between the clean celery flavor and the tangy pickle seasoning. They are especially refreshing during warmer months when lighter snacks are more appealing.
Pickled Celery Sticks Recipe
Ingredients
- 1 large bunch celery
- 3 garlic cloves
- 2 fresh dill sprigs
- 1 1/2 cups white vinegar
- 1 cup water
- 1 tbsp salt
- 1 tbsp sugar
- 1 tsp mustard seeds
- 1 tsp black peppercorns
Instructions
- Wash the celery stalks thoroughly, remove any tough outer strings if desired, and cut them into jar-length sticks.
- Place garlic cloves, dill sprigs, mustard seeds, and peppercorns into clean glass jars before adding the celery pieces.
- Arrange the celery sticks upright inside the jars, packing them neatly while leaving enough room for the brine.
- Heat vinegar, water, salt, and sugar in a saucepan until all seasonings dissolve into a clear pickling liquid.
- Pour the warm brine over the celery sticks until they are fully covered.
- Allow the jars to cool before sealing them tightly and placing them in the refrigerator.
- Let the celery pickle for at least 24 hours before serving, giving the flavors time to develop while keeping the vegetable crisp.
26. Refrigerator Pickled Watermelon Rind
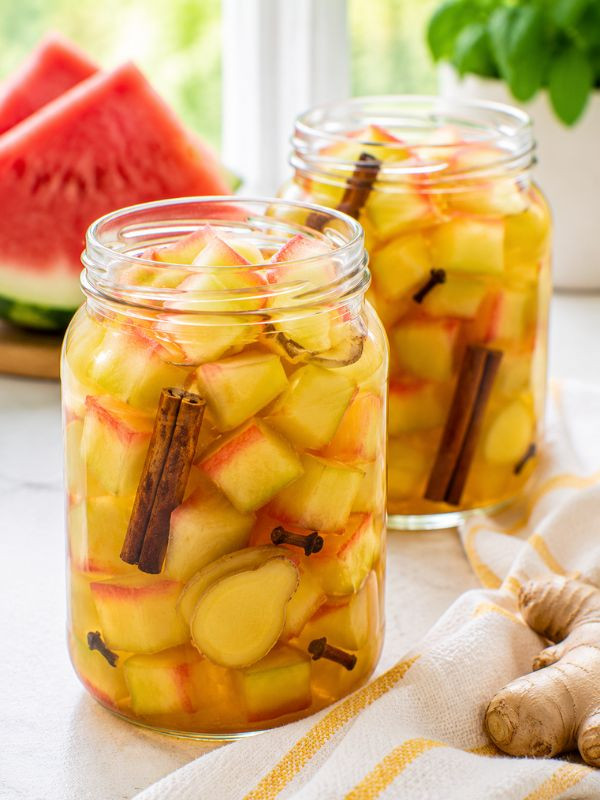
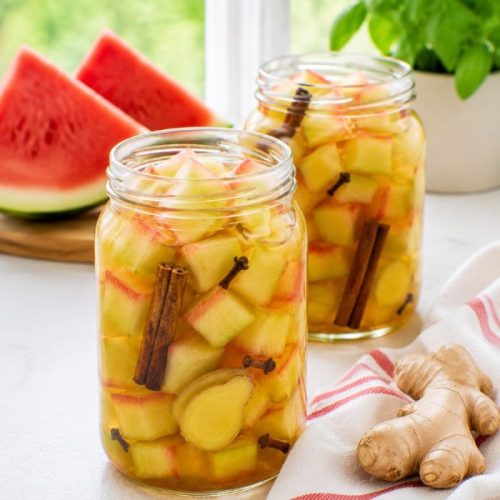
Refrigerator Pickled Watermelon Rind is a creative way to use an often-discarded part of the fruit while creating a surprisingly delicious snack. The firm white rind becomes crisp and flavorful after soaking in a sweet and tangy brine infused with spices like cinnamon, cloves, and ginger.
These pickles have a unique texture that falls somewhere between a crunchy vegetable pickle and a sweet preserve. I enjoy serving them with grilled meats, cheese boards, or summer meals because the refreshing sweetness pairs beautifully with savory dishes. They are also a wonderful recipe for reducing food waste in the kitchen.
Refrigerator Pickled Watermelon Rind
Ingredients
- 4 cups watermelon rind, peeled and cubed
- 1 1/2 cups white vinegar
- 1 1/2 cups water
- 1 cup sugar
- 1 cinnamon stick
- 4 whole cloves
- 1 tsp fresh ginger slices
- 1 tsp salt
- 1 tsp black peppercorns
Instructions
- Wash the watermelon rind thoroughly, remove the green outer skin with a sharp knife, and cut the white rind into bite-sized cubes.
- Place the rind pieces into a saucepan, cover with water, and simmer for about 10 minutes until slightly tender but still firm.
- Drain the rind and allow it to cool while preparing the spiced pickling liquid.
- Combine vinegar, water, sugar, cinnamon, cloves, ginger, salt, and peppercorns in a saucepan and heat gently until the sugar dissolves.
- Place the watermelon rind pieces into clean glass jars, arranging them evenly while leaving space for the brine.
- Pour the warm spiced vinegar mixture over the rind until all pieces are fully submerged.
- Cool the jars before sealing and refrigerating, then wait at least two days before serving for the best sweet and tangy flavor.
27. Curry Spiced Pickled Vegetables
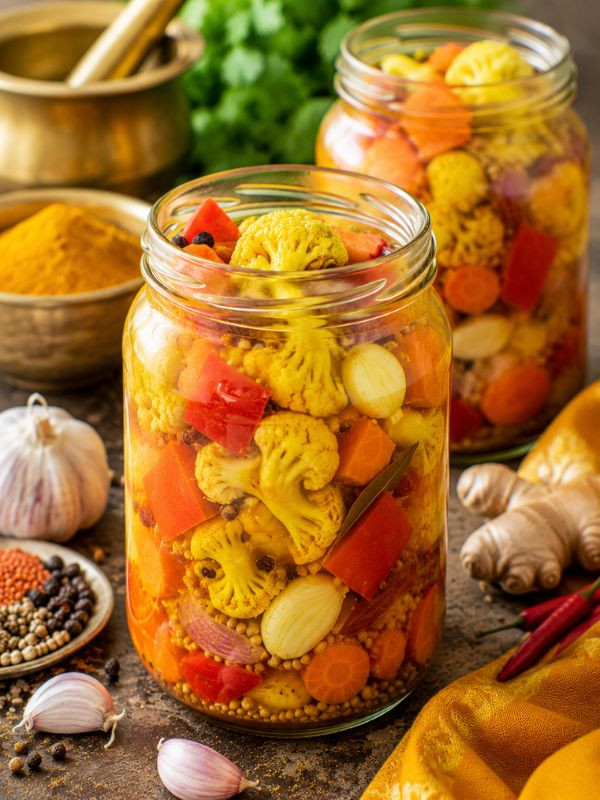
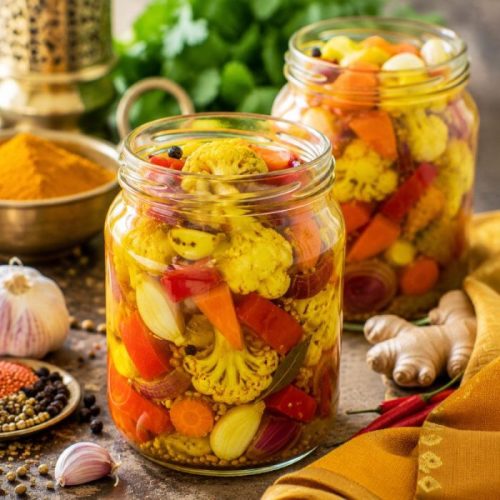
Curry Spiced Pickled Vegetables are packed with warm spices and colorful vegetables that create a bold homemade refrigerator pickle. A combination of carrots, cauliflower, peppers, and onions absorbs the flavors of curry powder, garlic, vinegar, and aromatic spices.
This recipe is perfect for anyone who enjoys pickles with more complexity. The gentle warmth of curry creates a different experience from classic dill-style pickles, making these vegetables excellent alongside rice dishes, grilled meats, sandwiches, or as part of an appetizer spread.
Pro Tip: Cut all vegetables into similar sizes so they pickle evenly and create a balanced texture in every bite.
Pickled Garlic Clove Jars
Ingredients
- 2 cups peeled garlic cloves
- 1 cup white vinegar
- 1 cup water
- 1 tbsp salt
- 1 tbsp sugar
- 1 tsp black peppercorns
- 2 bay leaves
- 1 tsp dried oregano
Instructions
- Peel the garlic cloves carefully and remove any damaged pieces to ensure a clean and consistent pickle.
- Place the garlic cloves into a saucepan of boiling water and simmer briefly for about one minute to soften their sharp flavor slightly.
- Drain the garlic and transfer the cloves into a clean glass jar with peppercorns, bay leaves, and oregano.
- Combine vinegar, water, salt, and sugar in a saucepan, then warm gently until the seasoning dissolves.
- Pour the prepared brine over the garlic cloves until they are completely submerged.
- Allow the jar to cool before sealing tightly and placing it in the refrigerator.
- Wait at least five days before eating so the garlic develops a smoother texture and a balanced tangy flavor.
28. Pickled Garlic Clove Jars
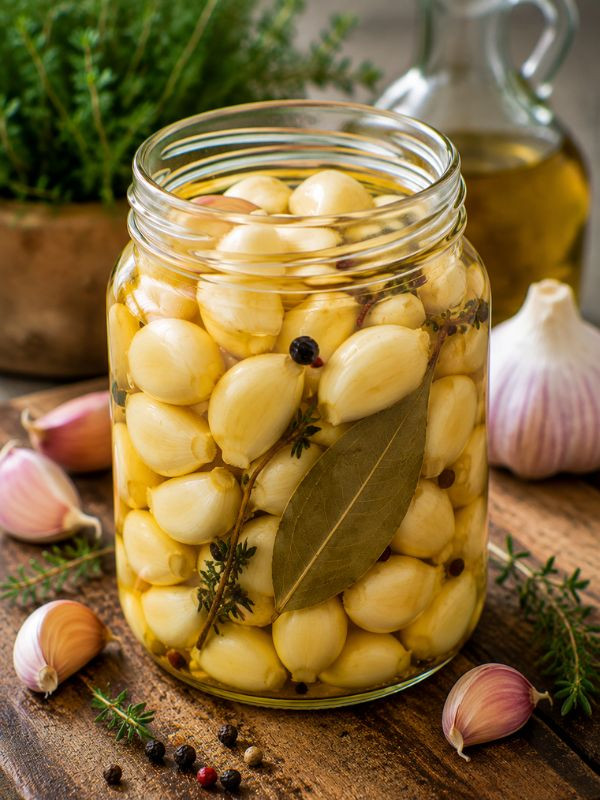
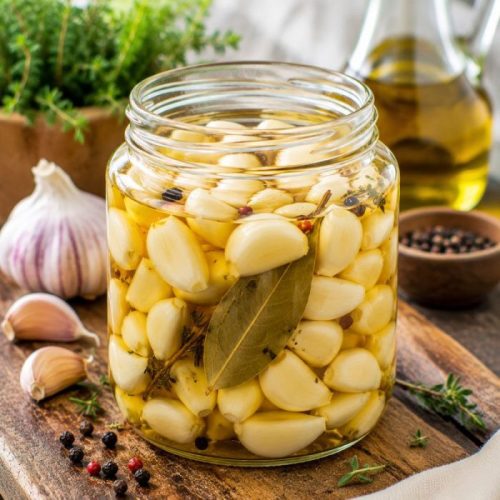
Pickled Garlic Clove Jars are a flavorful refrigerator pickle that transforms raw garlic into something smoother, sweeter, and easier to enjoy. The sharp bite of fresh garlic softens as the cloves soak in vinegar, creating a mellow flavor with a pleasant tang.
These garlic pickles are incredibly versatile. I like adding them to pasta dishes, roasted vegetables, salad dressings, sandwiches, and cheese boards. The leftover brine can also add extra garlic flavor to marinades and sauces, making the entire jar useful.
Pickled Garlic Clove Jars
Ingredients
- 2 cups peeled garlic cloves
- 1 cup white vinegar
- 1 cup water
- 1 tbsp salt
- 1 tbsp sugar
- 1 tsp black peppercorns
- 2 bay leaves
- 1 tsp dried oregano
Instructions
- Peel the garlic cloves carefully and remove any damaged pieces to ensure a clean and consistent pickle.
- Place the garlic cloves into a saucepan of boiling water and simmer briefly for about one minute to soften their sharp flavor slightly.
- Drain the garlic and transfer the cloves into a clean glass jar with peppercorns, bay leaves, and oregano.
- Combine vinegar, water, salt, and sugar in a saucepan, then warm gently until the seasoning dissolves.
- Pour the prepared brine over the garlic cloves until they are completely submerged.
- Allow the jar to cool before sealing tightly and placing it in the refrigerator.
- Wait at least five days before eating so the garlic develops a smoother texture and a balanced tangy flavor.
29. Mixed Garden Refrigerator Pickles
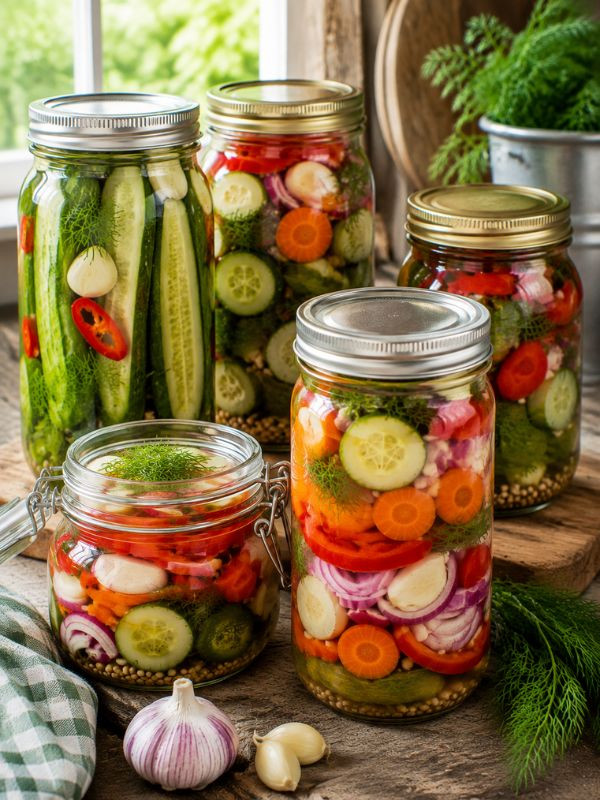
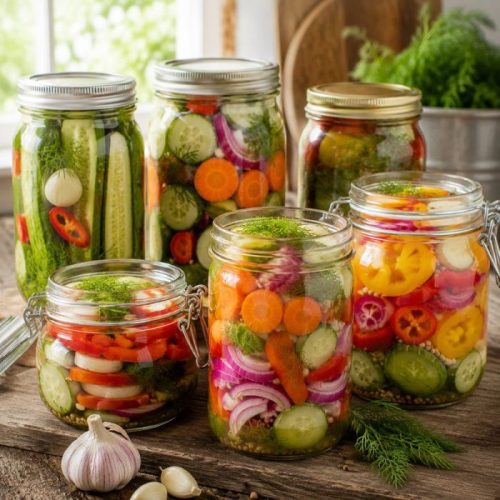
Mixed Garden Refrigerator Pickles are a colorful combination of fresh vegetables packed into one flavorful jar. This recipe brings together cucumbers, carrots, peppers, onions, and other garden favorites with a simple vinegar brine that allows every vegetable to shine.
I love making these pickles because they are flexible and practical. You can use whatever vegetables are available, making each jar slightly different. They are perfect for serving with grilled foods, adding to lunch plates, or keeping ready for quick snacks throughout the week.
Pro Tip: Choose vegetables with different colors and textures to create a more attractive jar and a more interesting eating experience.
Mixed Garden Refrigerator Pickles
Ingredients
- 2 cucumbers, sliced
- 2 carrots, sliced
- 1 bell pepper, sliced
- 1 small onion, sliced
- 3 garlic cloves
- 2 cups white vinegar
- 1 cup water
- 1 tbsp salt
- 1 tbsp sugar
- Fresh dill
Instructions
- Wash all vegetables thoroughly and cut them into similar-sized pieces that will fit easily into your jars.
- Prepare clean glass jars by adding garlic cloves, fresh dill, and any preferred spices to the bottom.
- Layer the vegetables inside the jars, alternating colors to create an attractive mixed garden appearance.
- Combine vinegar, water, salt, and sugar in a saucepan and heat until everything dissolves completely.
- Pour the warm brine over the vegetables, ensuring all pieces are covered by the liquid.
- Allow the jars to cool naturally before sealing them and placing them into the refrigerator.
- Let the pickles rest overnight before eating, then continue storing them chilled as the flavors develop.
30. Classic Refrigerator Pickle Medley
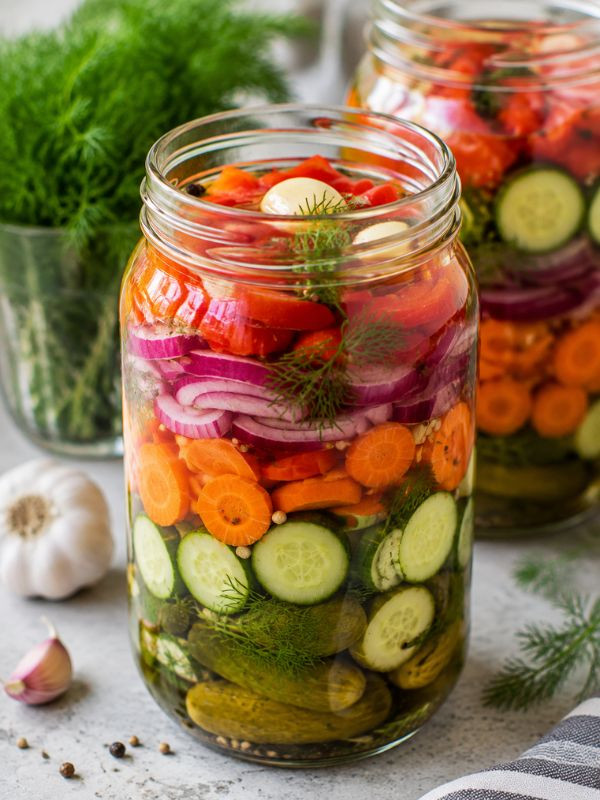
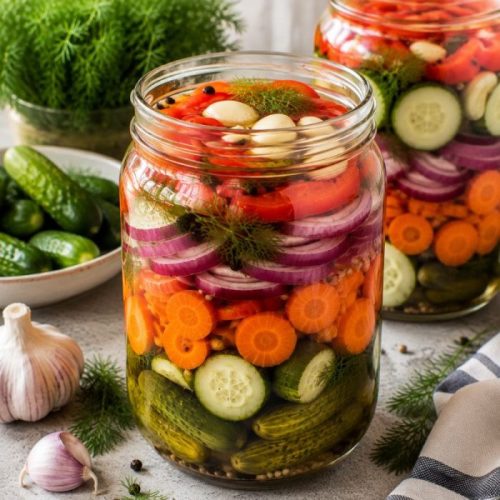
Classic Refrigerator Pickle Medley is the perfect final recipe for pickle lovers who enjoy variety. Instead of choosing only one vegetable, this colorful jar combines cucumbers, onions, peppers, carrots, and herbs into one crunchy homemade mixture.
This recipe is ideal when you have small amounts of different vegetables available and want to create something practical. Every bite offers a different texture and flavor, making it a great addition to picnic spreads, sandwiches, burgers, and everyday meals.
Classic Refrigerator Pickle Medley
Ingredients
- 2 cucumbers, sliced
- 2 carrots, sliced
- 1 bell pepper, sliced
- 1 small red onion
- 3 garlic cloves
- 3 cups white vinegar
- 2 cups water
- 2 tbsp salt
- 1 tbsp sugar
- 4 dill sprigs
- 1 tsp peppercorns
Instructions
- Wash and prepare all vegetables, cutting them into pieces that are similar in size for even flavor and texture.
- Place garlic cloves, dill sprigs, and peppercorns into clean glass jars before adding the vegetables.
- Arrange the vegetables in layers, mixing colors and textures throughout each jar.
- Heat vinegar, water, salt, and sugar together until the brine becomes clear and the seasonings dissolve.
- Pour the warm pickling liquid into each jar until all vegetables are fully covered.
- Allow the jars to cool completely before securing the lids and moving them into the refrigerator.
- Let the pickle medley rest for at least one day before serving, although the flavor becomes even better after several days.