Flour dust floated through the kitchen like soft snowflakes while the gentle hum of my stand mixer filled the room. That Saturday afternoon wasn’t planned for baking, but my curiosity was sparked when I stumbled upon an old, yellowed recipe card tucked into the back of a vintage Hershey’s cookbook at a local flea market. Something about its worn edges and cocoa-stained corners made me pause. It felt like holding a chocolate-streaked time capsule. The recipe? A 1970s Hershey’s Chocolate Cake—simple, bold, and unapologetically rich.
Back home, I read it aloud like a spell. No frills, just timeless ingredients: cocoa, sugar, eggs, oil, and water. It reminded me of a time when desserts didn’t need to be complicated to feel luxurious. I couldn’t wait to see how it would turn out in today’s kitchen, with modern tools but the same wholesome ingredients.
As I measured and mixed, a deep cocoa aroma wrapped around the room like a blanket. I realized this cake isn’t just a dessert—it’s a return to basics. No trendy add-ins or fancy techniques, just chocolate in its purest form. And when it came out of the oven, tall and fragrant, I knew this recipe had earned its place in my regular rotation.
Every bite felt like stepping into a retro diner booth, fork in hand, a cold glass of milk on the side. That kind of joy deserves to be shared—and now it’s your turn.
Short Description
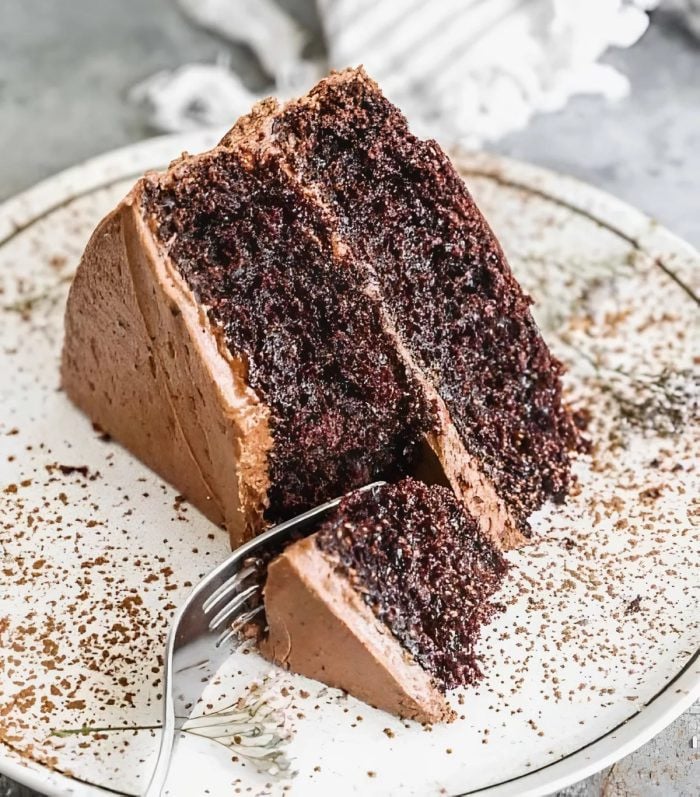
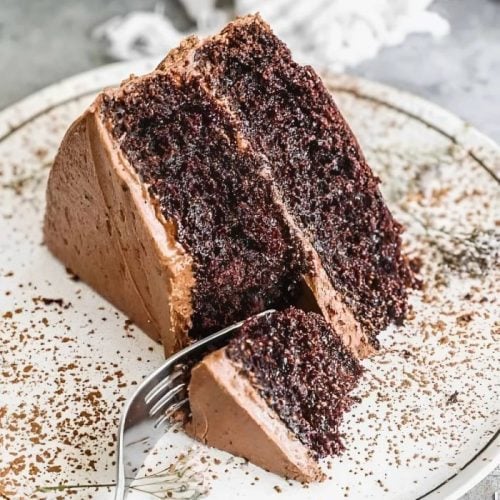
A rich, moist chocolate layer cake inspired by a beloved 1970s Hershey’s recipe. Easy to make, deeply chocolaty, and perfect for birthdays, gatherings, or when nostalgia calls.
Key Ingredients
- 1¾ cups all-purpose flour
- ¾ cup Hershey’s unsweetened cocoa powder
- 1½ teaspoons baking powder
- 1½ teaspoons baking soda
- 1 teaspoon salt
- 2 cups granulated sugar
- 2 large eggs (room temperature)
- 1 cup milk (or buttermilk for extra richness)
- ½ cup vegetable oil
- 2 teaspoons pure vanilla extract
- 1 cup boiling water
Tools Needed
- Two 9-inch round cake pans
- Large mixing bowl
- Hand or stand mixer
- Rubber spatula
- Wire cooling racks
- Sifter or fine-mesh sieve
- Cake knife or offset spatula
Cooking Instructions
Step 1: Preheat the Oven
Set your oven to 350°F (175°C). Grease and flour two 9-inch round cake pans thoroughly, tapping out the excess flour. This helps prevent sticking and gives clean release after baking.
Step 2: Combine Dry Ingredients
In a large bowl, sift together the flour, cocoa powder, baking powder, baking soda, salt, and sugar. This step prevents clumps and ensures even distribution of leavening agents.
Step 3: Add Wet Ingredients
Add eggs, milk (or buttermilk), oil, and vanilla to the dry mixture. Beat on medium speed for 2 minutes. The batter should look smooth and thick, with a silky texture.
Step 4: Incorporate Boiling Water
Carefully stir in 1 cup of boiling water. Go slow—it thins out the batter and enhances the cocoa’s flavor. Don’t worry if it looks runny; it’s meant to be.
Step 5: Pour and Bake
Divide the batter evenly between the prepared pans. Tap the pans gently on the counter to remove air bubbles. Bake for 30 to 35 minutes, or until a toothpick inserted in the center comes out clean.
Step 6: Cool Completely
Let the cakes cool in the pans for 10 minutes, then remove and transfer them to wire racks. Let them cool fully before frosting.
Step 7: Frost Your Cake
Choose your favorite chocolate frosting—classic buttercream or whipped ganache both work beautifully. Frost between the layers, then cover the top and sides.
Why You’ll Love This Recipe
– Moist, tender crumb
– Easy-to-find pantry ingredients
– Crowd-pleasing and nostalgic
– Great for beginner bakers
– Customizable with frostings or fillings
Mistakes to Avoid & Solutions
1. Skipping the Boiling Water
Mistake: Omitting this step dulls the chocolate flavor.
Solution: Always stir it in carefully. It activates the cocoa and creates a smoother batter.
2. Overmixing the Batter
Mistake: Overworking the flour creates a dense cake.
Solution: Mix just until combined after adding the wet ingredients.
3. Uneven Cake Layers
Mistake: Pouring without measuring.
Solution: Use a kitchen scale or measuring cup to evenly divide batter.
4. Removing Cake Too Early
Mistake: Taking cakes out of pans while hot may cause breaking.
Solution: Cool for exactly 10 minutes, then loosen edges gently before inverting.
5. Dry Cake Edges
Mistake: Overbaking by even a few minutes.
Solution: Begin testing for doneness at the 30-minute mark with a toothpick.
Serving and Pairing Suggestions
This vintage Hershey’s cake shines in many settings:
Serve sliced with a scoop of vanilla bean ice cream
Top with fresh berries for contrast
Pair with black coffee, cold milk, or red wine for adults
Presentation: Decorate with chocolate shavings or powdered sugar dusting
Serving style: Works beautifully plated at parties or served family-style at casual get-togethers
Storage and Reheating Tips
Room Temp: Keep covered on the counter for up to 3 days
Refrigerate: Store in an airtight container for up to 5 days
Freeze: Wrap slices individually in plastic wrap, then foil. Freeze up to 2 months
Reheat: Thaw at room temp; warm slices in microwave for 10–15 seconds for a just-baked feel
FAQs
1. Can I make this cake ahead of time?
Yes! Bake the layers a day ahead and wrap tightly in plastic wrap. Frost before serving.
2. What if I don’t have buttermilk?
No problem—mix 1 tablespoon of lemon juice or vinegar into 1 cup of milk and let sit for 5 minutes.
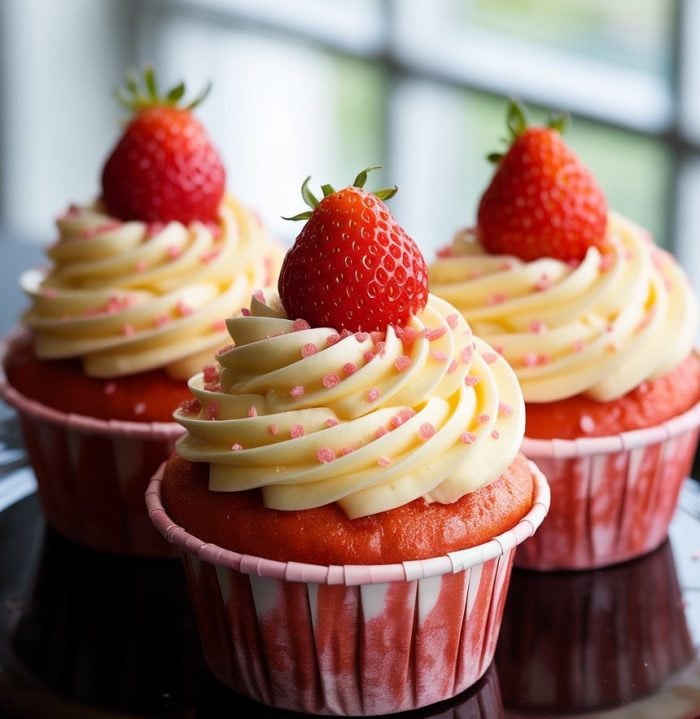
3. Can I use this batter for cupcakes?
Absolutely. Fill cupcake liners ⅔ full and bake at 350°F for 18–22 minutes.
4. Why is my cake falling in the middle?
This can happen if the oven temperature is too low or the cake was underbaked. Use an oven thermometer to ensure accuracy.
5. What frosting pairs best?
Classic chocolate buttercream is my go-to, but a cream cheese frosting or whipped ganache also tastes amazing.
Tips & Tricks
– Always sift cocoa powder—it clumps easily.
– Use room temperature eggs for better emulsion and texture.
– Don’t open the oven too early; wait until at least 25 minutes have passed.
– A serrated knife makes slicing neater.
– Warm your knife under hot water before cutting to glide through frosting smoothly.
Recipe Variations
1. Mocha Twist
Swap ½ cup of the boiling water for strong brewed coffee. Adds a rich depth without overpowering the chocolate.
2. Chocolate-Orange Cake
Add 1 tablespoon of orange zest and swap vanilla extract with orange extract for a citrus-chocolate combo.
3. Peanut Butter Frosting
Top with creamy peanut butter frosting made from ½ cup peanut butter, ¼ cup softened butter, 2 cups powdered sugar, and a splash of milk.
4. Layered Ice Cream Cake
Slice each cake horizontally to make 4 layers. Alternate cake and softened ice cream, freeze until firm, and frost with whipped cream.
5. Vegan Option
Replace eggs with ½ cup applesauce, use almond milk with vinegar, and choose dairy-free frosting. The cake stays moist and fudgy.
Final Thoughts
This vintage Hershey’s chocolate cake doesn’t rely on trends or techniques—it thrives on balance. The richness from cocoa, the lightness from boiling water, the delicate crumb—it all harmonizes into a cake that feels both nostalgic and timeless.
It’s become a staple in my home, not just for celebrations but even as a midweek pick-me-up. When I need comfort or want to impress guests without overcomplicating things, I reach for this recipe. There’s heart in every bite. That’s the beauty of heirloom recipes—they remind us that simplicity can still feel extraordinary.
So go ahead—flour your pans, melt into the aroma, and let this chocolate classic take you back. You might just find that it becomes your forever favorite too.
Vintage Hershey’s Chocolate Cake (1970s)
Ingredients
- 1¾ cups all-purpose flour
- ¾ cup Hershey’s unsweetened cocoa powder
- 1½ teaspoons baking powder
- 1½ teaspoons baking soda
- 1 teaspoon salt
- 2 cups granulated sugar
- 2 large eggs room temperature
- 1 cup milk or buttermilk for extra richness
- ½ cup vegetable oil
- 2 teaspoons pure vanilla extract
- 1 cup boiling water
Instructions
- Heat your oven to 350°F (175°C). Grease and flour two 9-inch round cake pans, making sure to shake out the extra flour so the cakes won’t stick.
- In a large bowl, whisk together the flour, cocoa powder, baking powder, baking soda, salt, and sugar. This helps everything mix evenly.
- Add the eggs, milk (or buttermilk), oil, and vanilla. Beat with a mixer on medium speed for 2 minutes until the batter is smooth and thick.
- Slowly pour in the boiling water while stirring. The batter will look thin—this is normal. It helps bring out the chocolate flavor.
- Divide the batter between the two pans. Tap them lightly on the counter to pop any air bubbles. Bake for 30 to 35 minutes, or until a toothpick comes out clean.
- Cool the cakes in the pans for 10 minutes. Then take them out and place them on wire racks to cool completely.
- Once cooled, frost the cake with your favorite chocolate frosting. Spread it between the layers, then cover the top and sides.