One day, I visited an old college friend who now lives in a quiet, woodsy town just outside Portland. She’s one of those people whose kitchen always smells like freshly baked bread, roasted coffee, and herbs from her garden windowsill.
We caught up over cups of herbal tea while her toddler scattered flour on the floor, and at one point, she opened a small glass jar with a bubbly, tangy aroma that hit instantly. “This little thing changed how I bake,” she smiled, holding up her sourdough starter.
I’d made starter before, but this moment felt different—more intentional, more peaceful. She explained how feeding it became part of her routine, like a daily check-in with something alive and patient. Watching her stir and nurture that simple mix of flour and water inspired me to slow down and try again from scratch.
Back home, I cleared a spot near the kitchen window, pulled out my favorite jar, and began the process. There’s something quietly rewarding about watching a starter come to life, especially when each day brings subtle signs of growth—tiny bubbles, faint tanginess, a puffier texture. It’s almost like having a low-maintenance pet that rewards you with incredible bread. If you’ve ever wanted to start baking sourdough but felt intimidated, this method is for you. Simple ingredients, a little patience, and before long, you’ll have a thriving starter ready to transform your baking.
Short Description
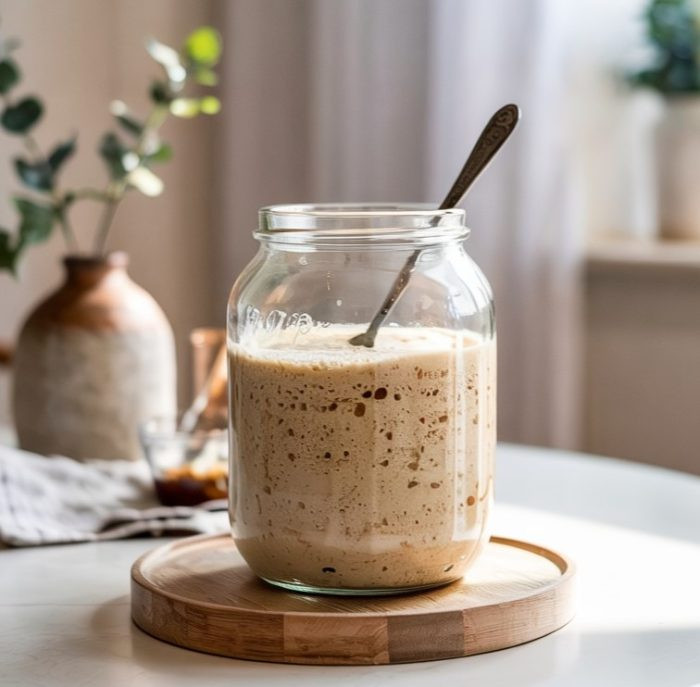
This easy sourdough starter recipe uses just flour, water, and a touch of sugar or honey to kickstart fermentation. Perfect for beginners and seasoned bakers alike, it yields a bubbly, active starter within a week.
Key Ingredients
- 1 cup all-purpose flour
- 1/2 cup water
- 1 tablespoon sugar or honey
Tools Needed
- Clean glass jar or bowl
- Spoon or small spatula
- Measuring cups and spoons
- Cloth or loosely fitting lid
Cooking Instructions
Step 1: Combine Ingredients
In a clean glass jar or bowl, stir together 1 cup of all-purpose flour and 1/2 cup of water. Add 1 tablespoon of sugar or honey.
Step 2: Stir Until Smooth
Mix the ingredients thoroughly until there are no dry lumps. The texture should resemble a thick pancake batter.
Step 3: Cover and Let It Rest
Loosely cover the jar with a lid or cloth—something breathable, but protective. Let it sit at room temperature (ideally between 70–75°F) for 24 hours. Avoid drafts or extreme temperature changes.
Step 4: First Feeding
After 24 hours, you may or may not see bubbles yet—that’s okay. Discard half of the mixture, then feed it by adding 1/2 cup of all-purpose flour and 1/4 cup of water. Stir thoroughly to incorporate air and keep the texture smooth.
Step 5: Repeat Daily Feedings
Continue this process every 24 hours: discard half, then feed with 1/2 cup flour and 1/4 cup water. By Day 3 or 4, you should begin to see more bubbles and detect a slightly sour aroma.
Step 6: Watch for Readiness (Day 5–7)
Your starter is ready when it’s consistently bubbly, doubles in size within 4–6 hours of feeding, and has a tangy, pleasant smell. At this point, it’s active enough to bake bread.
Step 7: Store or Use
Use your starter immediately in your favorite sourdough recipes or store it in the refrigerator, feeding it once a week with the same routine (discard and feed).
Why You’ll Love This Recipe
– No fancy tools or rare ingredients
– Ideal for beginners who want to try sourdough without stress
– Adds complex flavor and gut-friendly bacteria to baked goods
– Low maintenance once established
– A fun, hands-on science experiment that becomes a staple in your kitchen
Mistakes to Avoid & Solutions
Mistake 1: Using chlorinated tap water
Solution: Use filtered or bottled water. Chlorine can inhibit yeast growth and delay fermentation.
Mistake 2: Keeping the starter too cold
Solution: Room temperature is key. Keep your jar in a warm, stable place—avoid the fridge until your starter is fully active.
Mistake 3: Not feeding it consistently
Solution: Set a daily alarm or reminder. Skipping feedings can weaken your starter or cause it to smell unpleasant.
Mistake 4: Using too much water or flour
Solution: Stick to the ratios. Too much water makes it soupy and weak; too much flour makes it dry and difficult to rise.
Mistake 5: Sealing the jar airtight
Solution: Cover loosely to allow airflow. An airtight seal can cause pressure to build or limit needed oxygen.
Serving and Pairing Suggestions
Once your starter is active, use it to bake:
– Classic sourdough loaves with crispy crusts and chewy centers
– Fluffy sourdough pancakes or waffles for brunch
– Rustic sourdough pizza crust
– Buttery sourdough biscuits or muffins
Pair your sourdough creations with:
– Homemade soups like tomato basil or potato leek
– Cheese boards with sharp cheddar and fruit
– Herbal teas or a glass of chilled white wine
Serve family-style on wooden boards or as an elegant plated dish for brunches and dinner parties.
Storage and Reheating Tips
To Store: Keep your mature starter in the fridge if not using daily. Feed it once a week (discard half and feed as usual).
To Reactivate: Remove from fridge, feed, and let sit at room temperature for 4–6 hours before baking.
To Freeze (for long-term): Spread a thin layer on parchment paper, freeze until solid, then break into flakes and store in a freezer-safe bag. To revive, mix with water and flour and feed for a few days.
Avoid Metal Containers: Store in glass or food-grade plastic to prevent reaction with acidity.
FAQs
1. How long does it take for a sourdough starter to be ready?
Typically, 5–7 days. Some may take up to 10, depending on room temperature and flour used.
2. Do I have to discard half each time I feed?
Yes. This keeps the yeast and bacteria in balance and prevents the starter from growing too large.
3. Why doesn’t my starter have bubbles yet?
It might need more warmth or time. Check the room temperature and continue feeding for a few more days.
4. Can I switch flours later on?
Absolutely. You can start with all-purpose and transition to whole wheat or rye to enhance flavor and activity.
5. What does it mean if my starter smells like nail polish?
That’s a sign it’s hungry and producing excess alcohol (called hooch). Feed it more often or give it a double feeding to revive it.
Tips & Tricks
– Use a rubber band around the jar to mark how much the starter rises.
– Stir in a bit of rye flour once a week—it boosts fermentation.
– Name your starter! It adds personality and helps you treat it like a living thing.
– Use a wide-mouth jar for easier mixing and cleaning.
– Always clean the jar rim after stirring to avoid crust buildup.
Recipe Variations
1. Whole Wheat Starter
Swap 1 cup of all-purpose flour for whole wheat flour. It ferments faster and gives a nuttier flavor. Follow the same steps, but use slightly more water (about 2 extra tablespoons).
2. Rye Starter
Use rye flour instead of all-purpose for deeper flavor. Great for dark breads and European-style sourdoughs. Feed with rye daily and expect a quicker rise.
3. Gluten-Free Starter
Use a gluten-free blend of brown rice flour and sorghum flour. Mix 1/2 cup of each with 1/2 cup water and sugar. Feed daily with equal parts flour and water. It takes longer but works well in GF recipes.
4. Fruit-Enhanced Starter
Add 1 chopped organic raisin or dried fig on Day 1. Natural yeasts on the skin jumpstart fermentation. Remove by Day 3 when feeding begins.
5. Apple Cider Starter
Replace water with raw unfiltered apple cider on Day 1 only. Adds natural wild yeast and a hint of apple tang. Resume feeding with water from Day 2 onward.
Final Thoughts
Watching a sourdough starter come to life day after day feels a bit like tending a secret garden right on the kitchen counter. It’s simple ingredients—flour, water, a hint of sweetness—yet it quietly transforms with a stubborn kind of patience. Each bubble and soft tangy scent reminds me that some of the best things happen slowly, without rush.
If you’re thinking about starting your own, take it as a small invitation to slow down, to notice, and to create something from almost nothing. It’s a small adventure that leaves you with endless possibilities and a deep sense of satisfaction every time you reach for it. Honestly, few kitchen projects feel as personal—or as rewarding—as building your own starter from scratch.

Sourdough Starter
Ingredients
- 1 cup all-purpose flour
- ½ cup water
- 1 tablespoon sugar or honey
Instructions
- Mix the base: In a clean glass jar or bowl, combine 1 cup all-purpose flour, 1/2 cup water, and 1 tablespoon sugar or honey. Stir until smooth, with no dry lumps.
- Cover and rest: Loosely cover the jar with a breathable lid or cloth. Let it sit at room temperature (70–75°F) for 24 hours, away from drafts.
- First feeding: After 24 hours, discard half of the mixture. Feed it with 1/2 cup flour and 1/4 cup water, stirring well to create a smooth batter.
- Daily feedings: Every 24 hours, repeat the process—discard half and feed with 1/2 cup flour and 1/4 cup water. Watch for bubbles and a light sour smell by Day 3 or 4.
- Check for readiness: By Day 5 to 7, the starter should be bubbly, double in size within 4–6 hours after feeding, and smell pleasantly tangy.
- Store or use: Use your active starter in sourdough recipes or refrigerate it, feeding once a week by discarding half and refreshing with 1/2 cup flour and 1/4 cup water.